Design a Logo with Curved Text
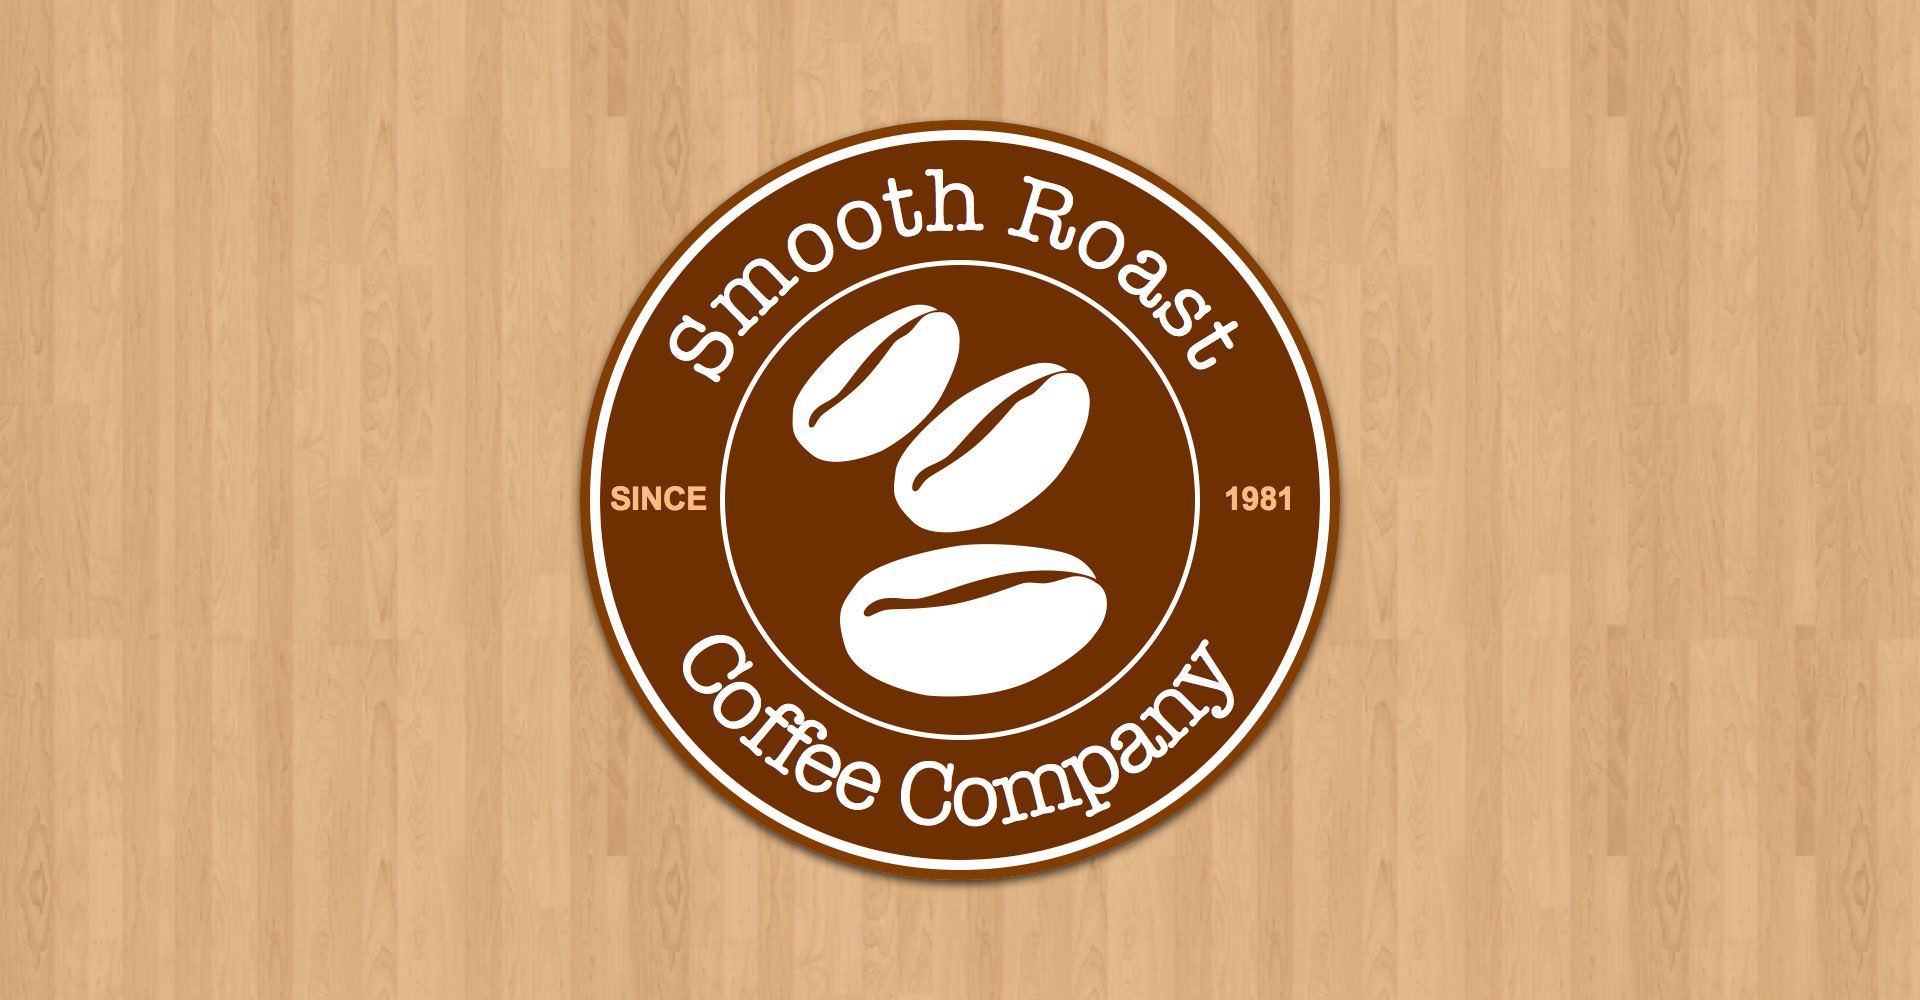
In this Graphic for Mac tutorial we will create a professional logo design, using a coffee shop logo as an example.
We will use Graphic's text on path feature to easily create curved text labels around the top and bottom edges of the logo, and use the Appearance pane to customize the look of the logo's background.
Resources:
CoffeeBean.svg
WoodBackground.png
Step 1 - Create a New Document
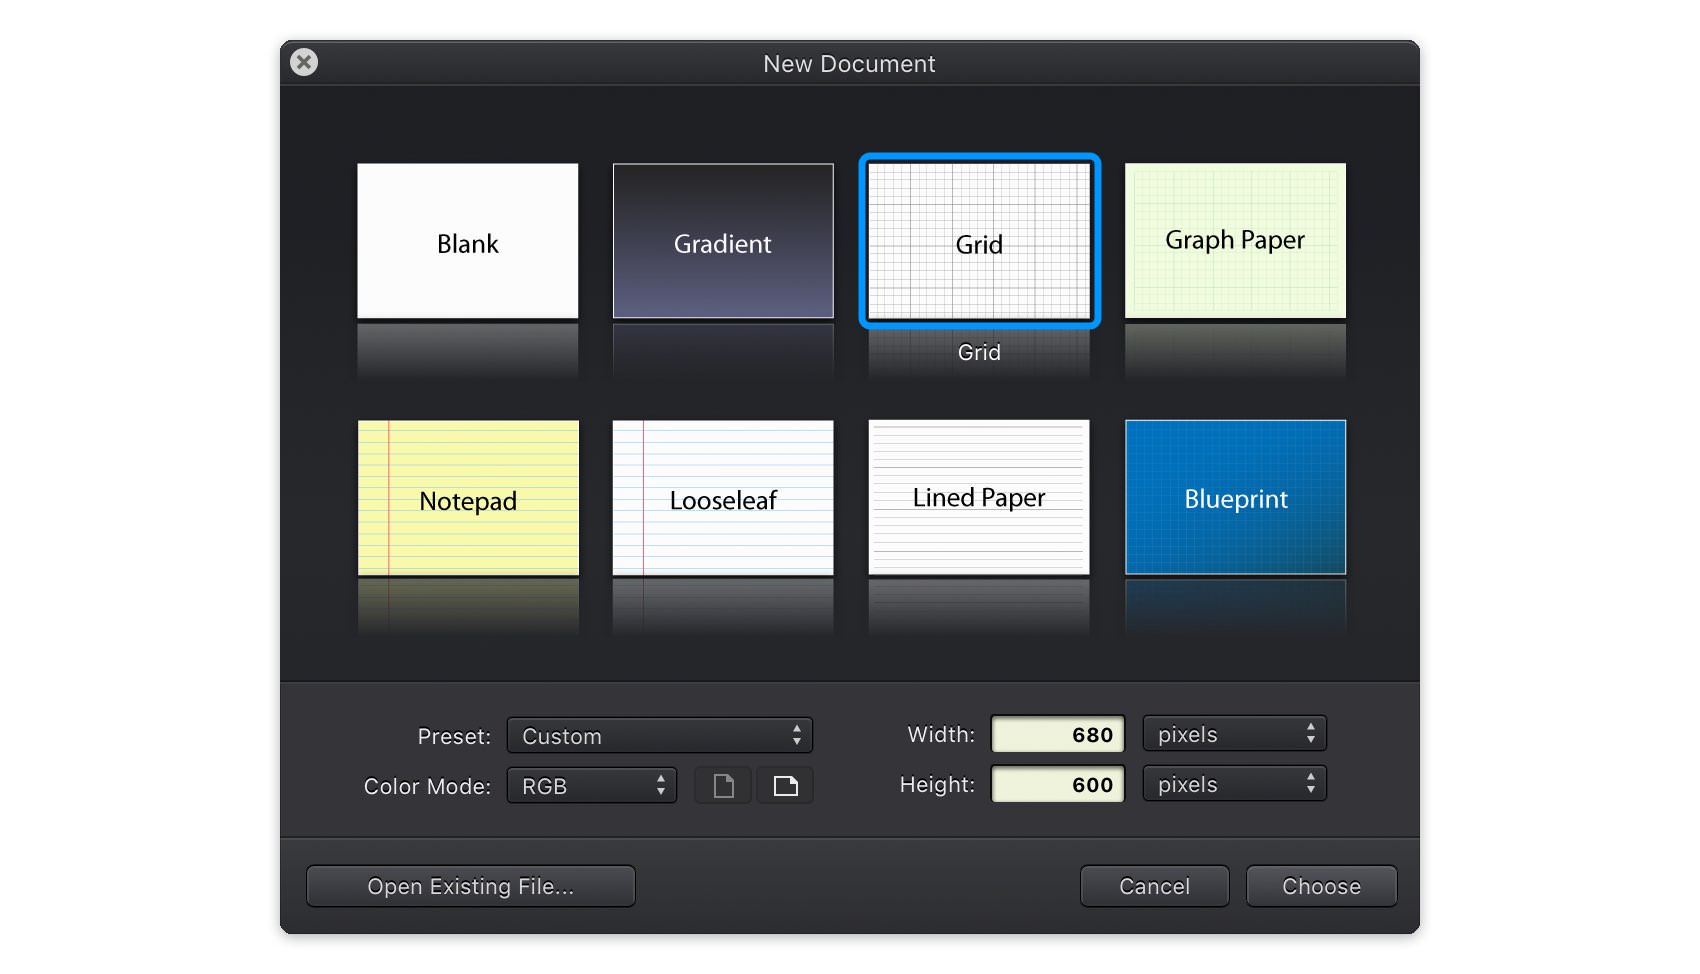
Let's begin by creating a new document. Choose File > New (Control + N) to bring up the New Document panel. Set the document units to pixels, and the document dimensions to 850 pixels wide by 650 pixels high.
Step 2 - Draw an Ellipse
Select the Ellipse Tool (O) from your Toolbar. Hold the Shift key while dragging to crate a 360 px circle. Make sure that it stays selected and open the Properties pane.
Move to the Alignment pane and click the Horizontal Centers and Vertical Centers buttons which will bring your selection in the center of the canvas.
Step 3 - Set the Fill and Stroke Styles
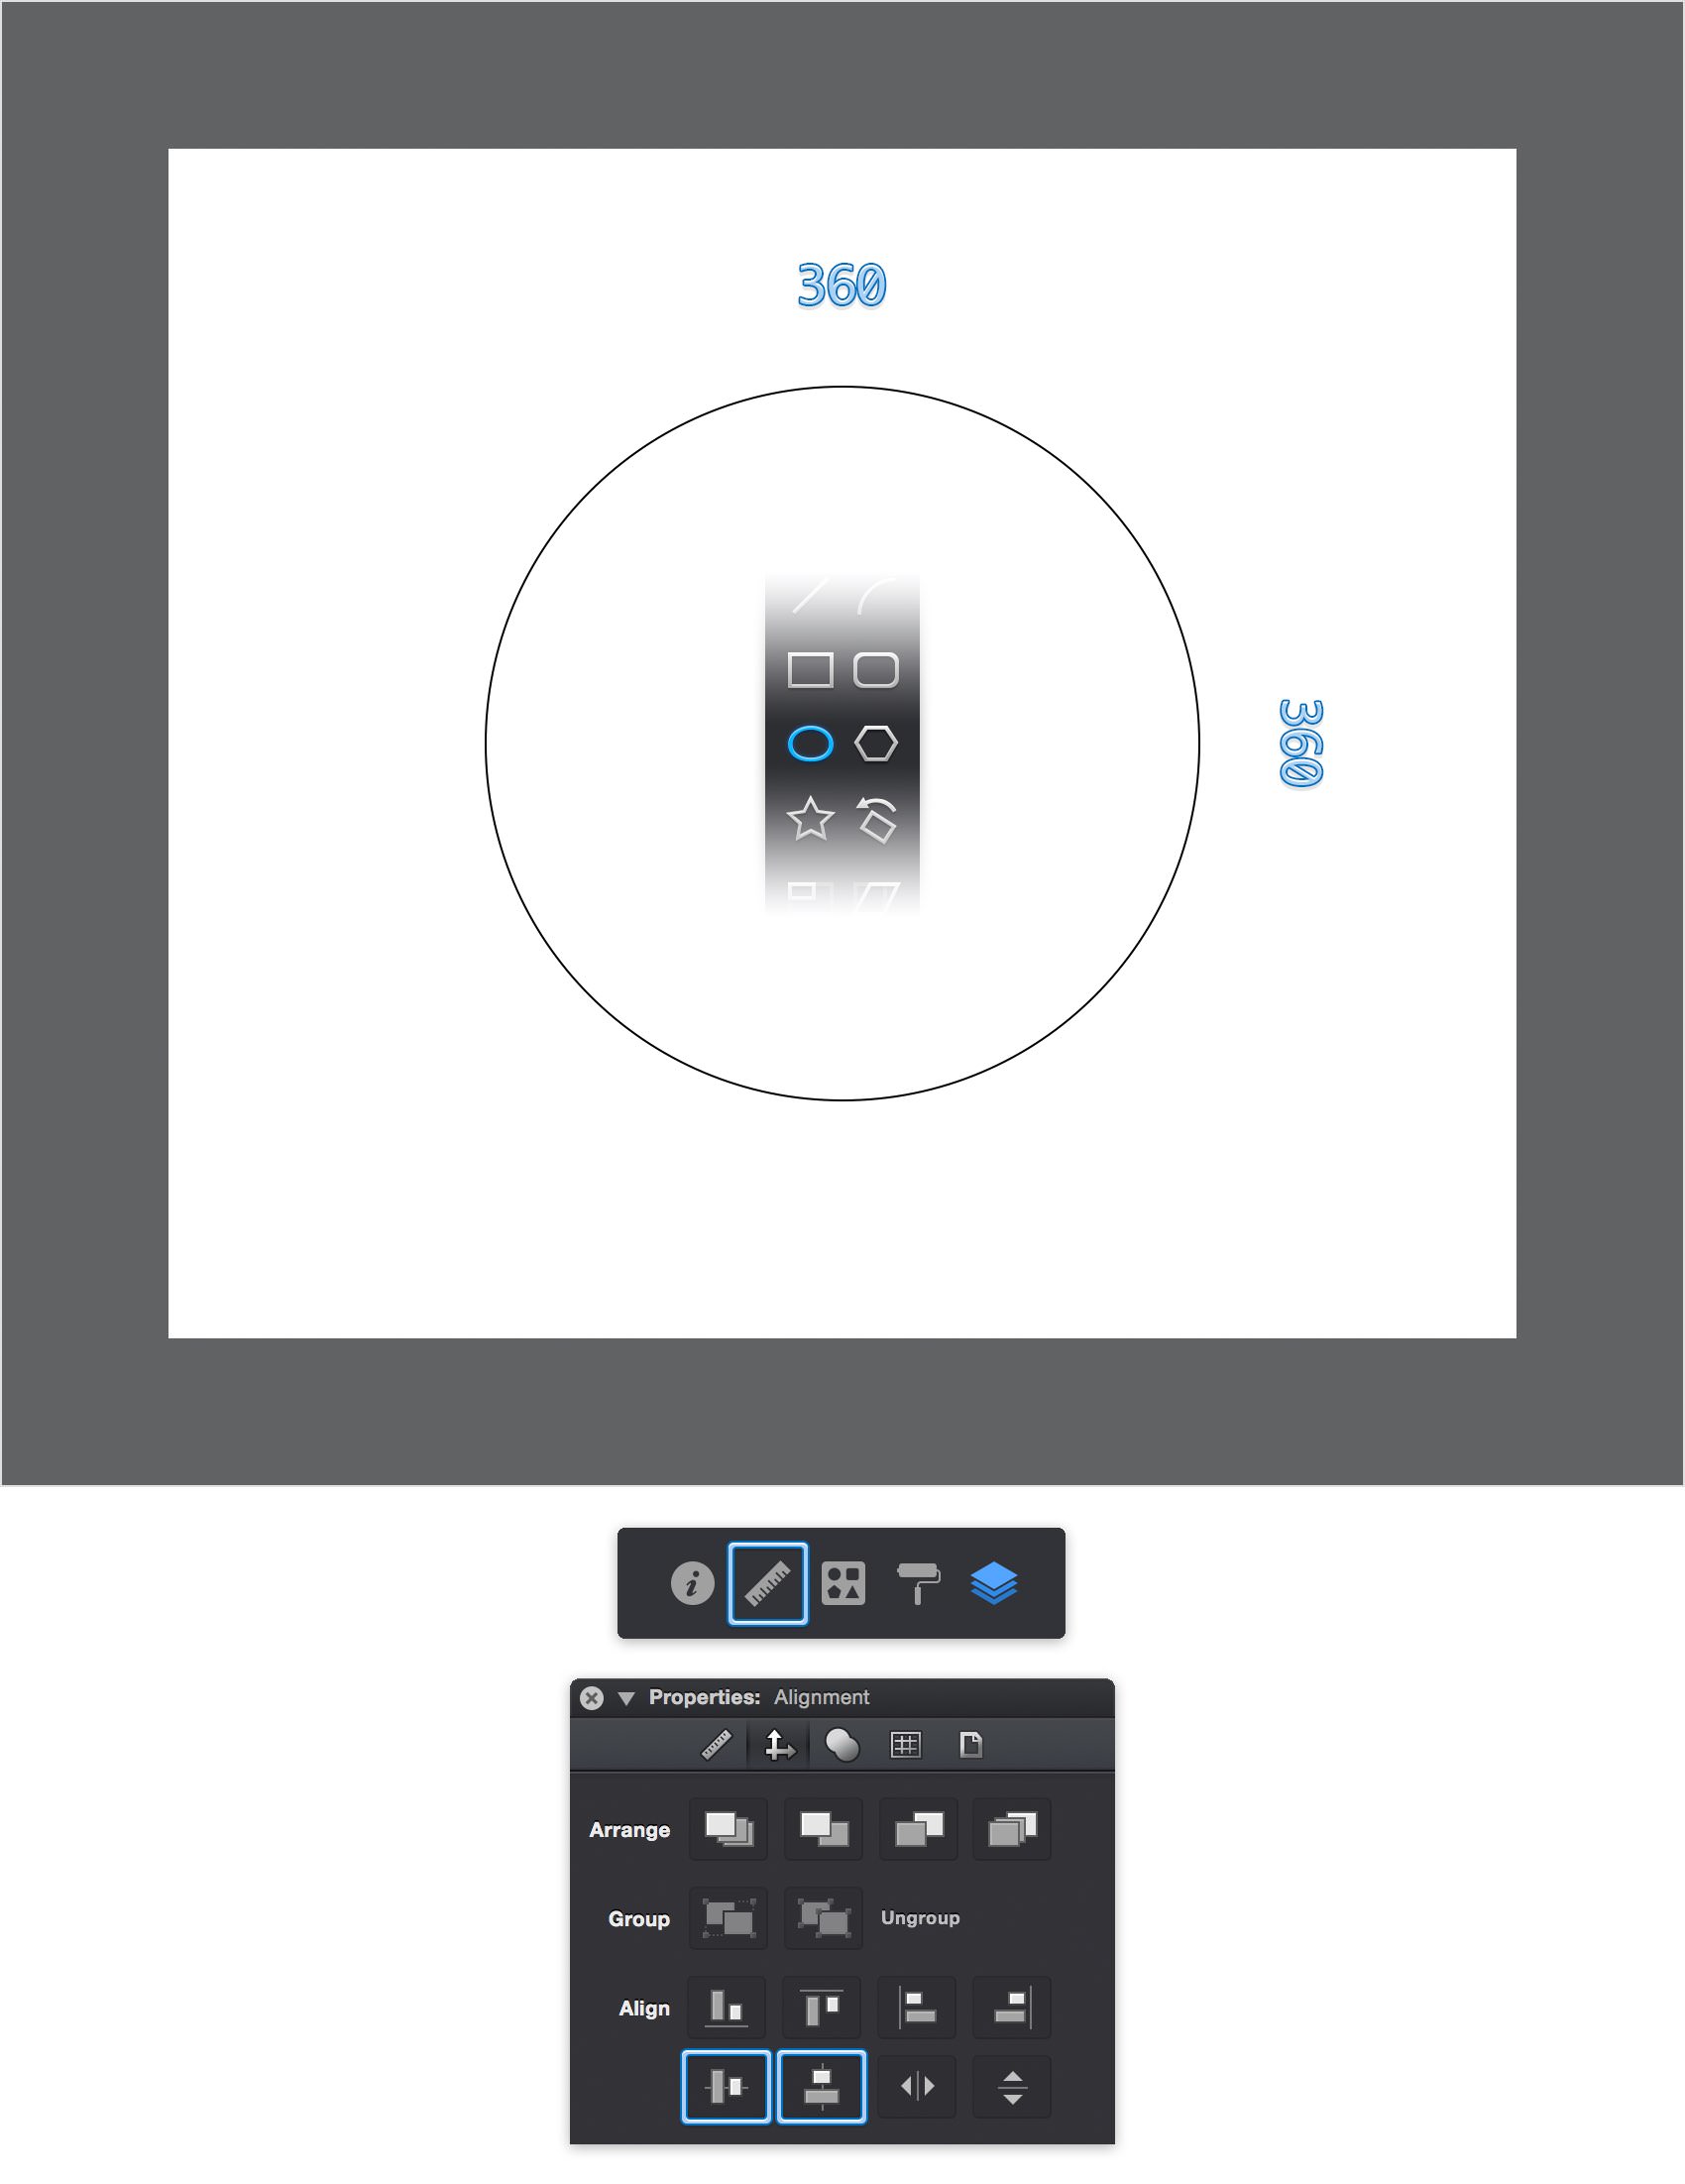
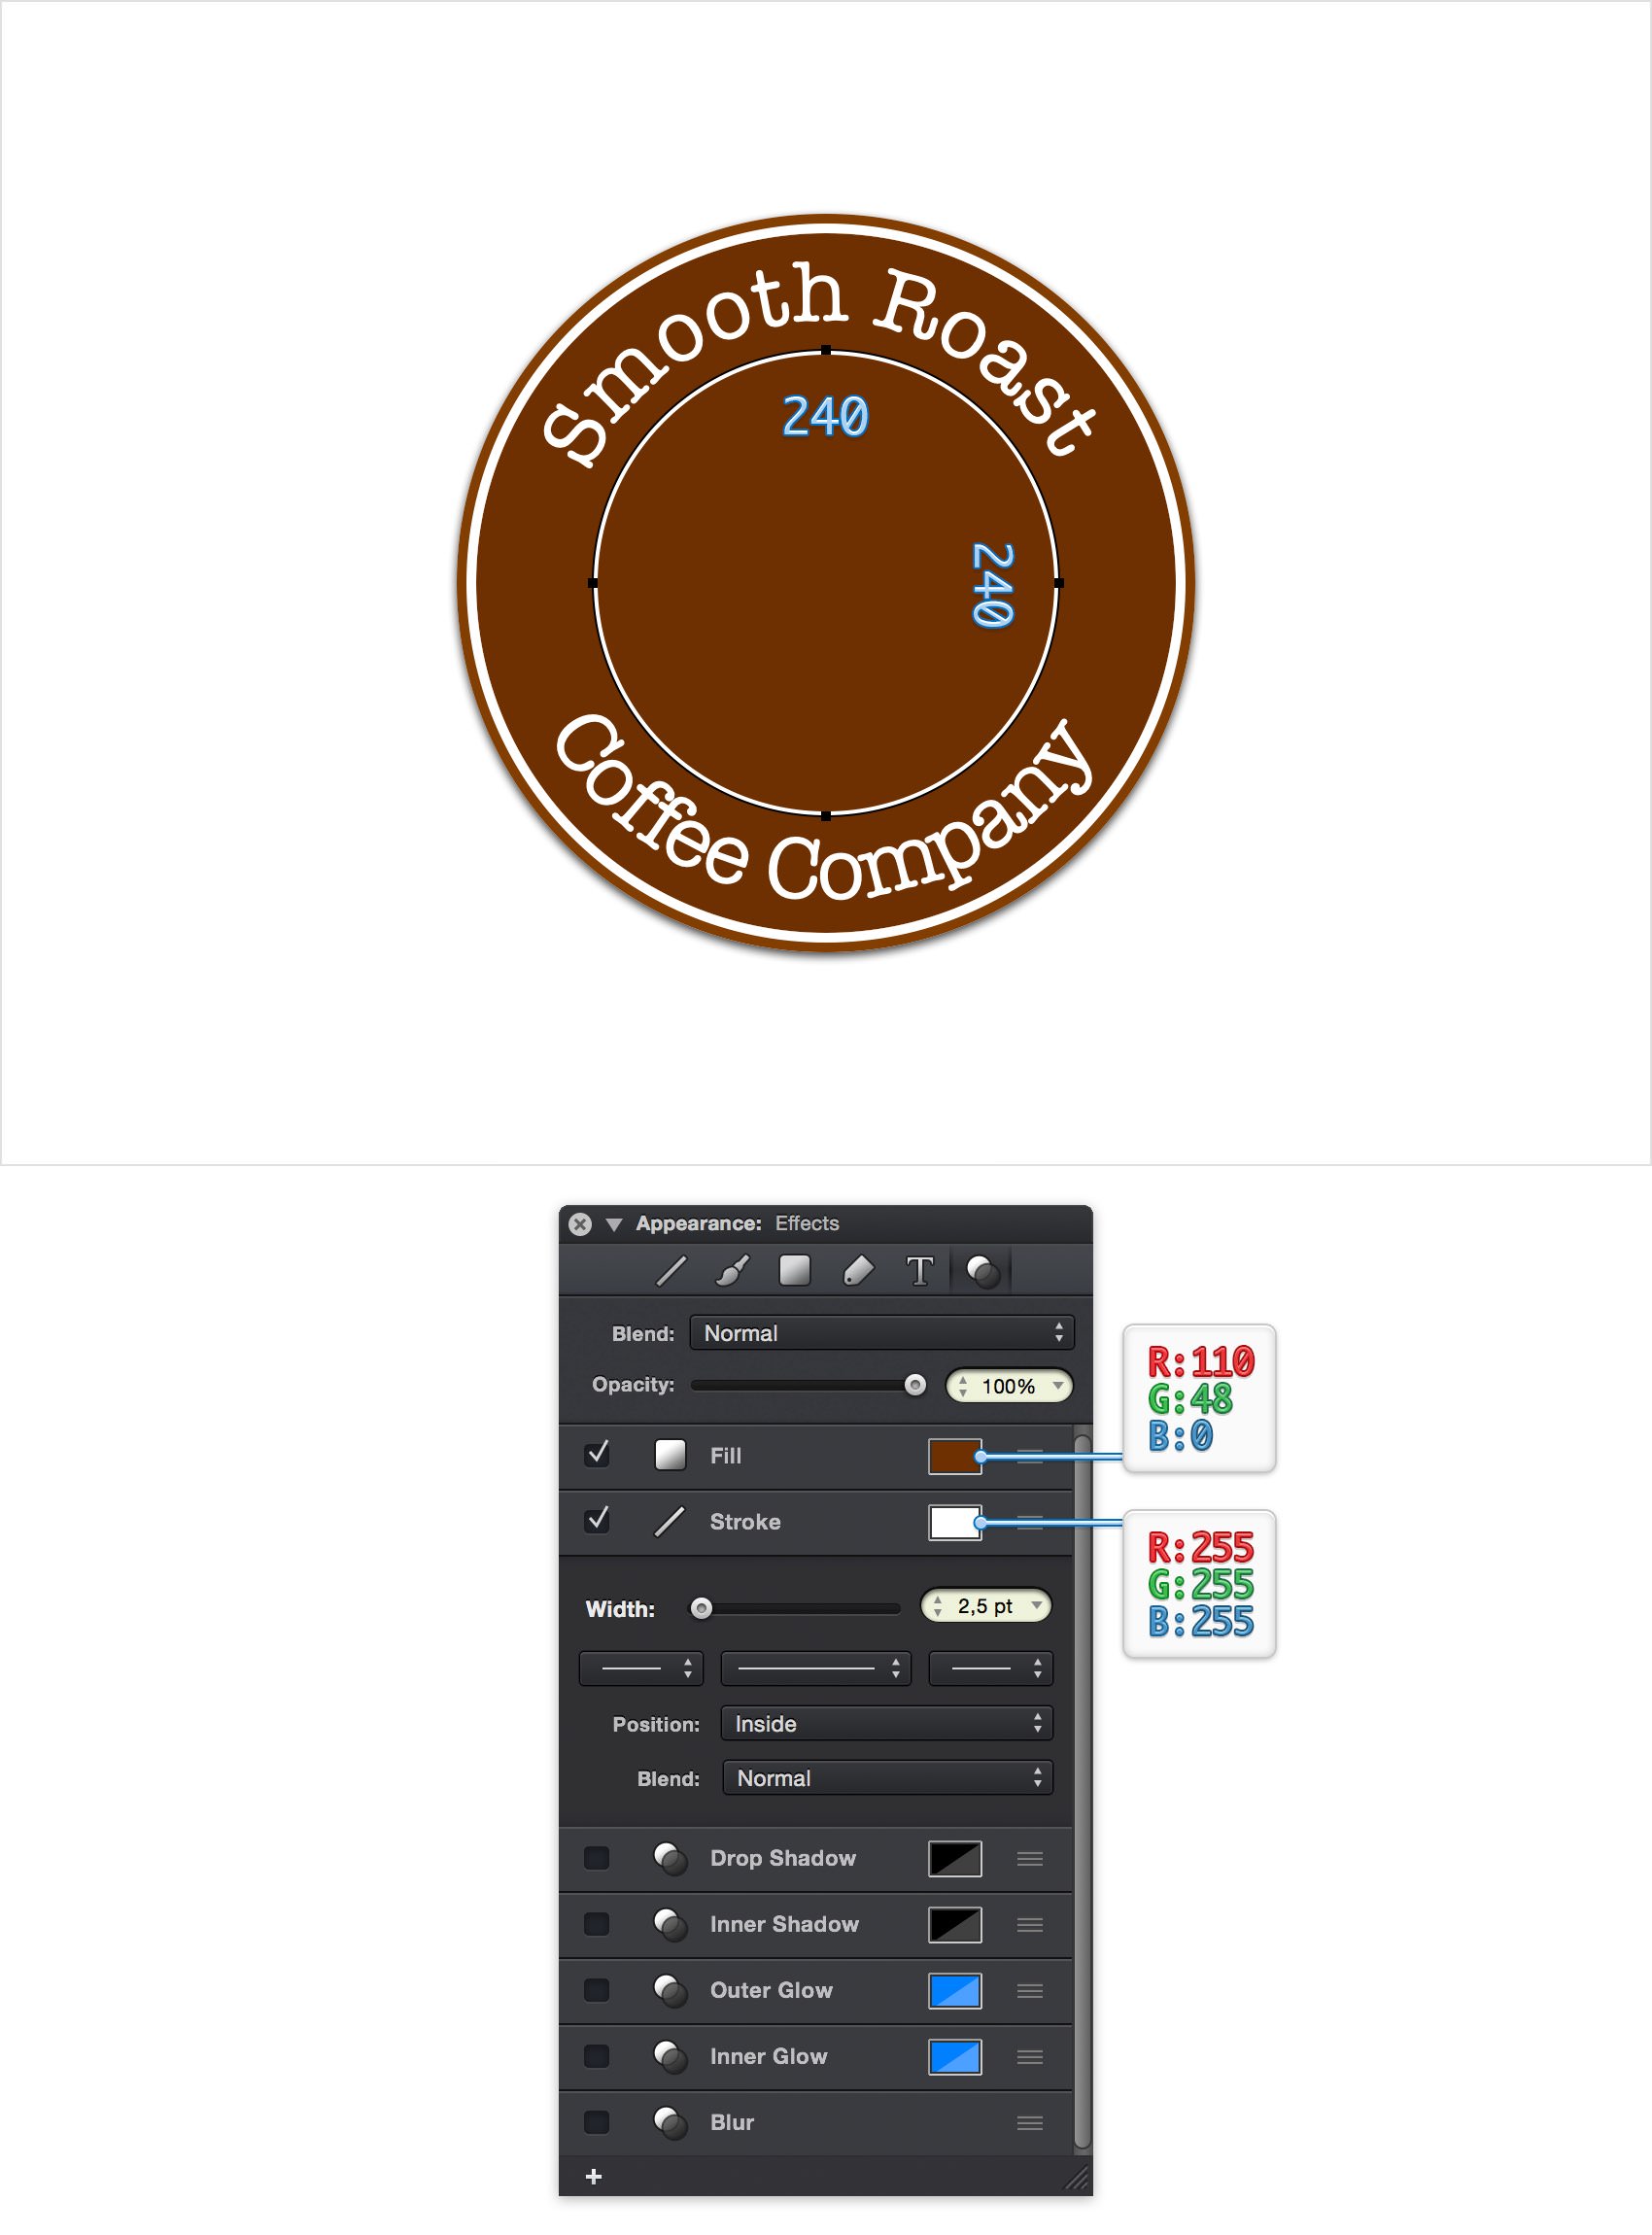
With the circle shape selected, switch to the Effects pane in the Appearance panel to customize the its settings. Click the color well of the Fill item to change the circle's fill color. From the RGB color picker, choose R= 110 G= 48 B= 0.
Click the Stroke color well, change the stroke color to R= 130 G= 62 B= 0 and drag that Alpha slider to 100%. Next, click on the Stroke item to view and edit its settings. Set the Width to 10 pt and the Position to Outside.
Step 4 - Add a Second Stroke
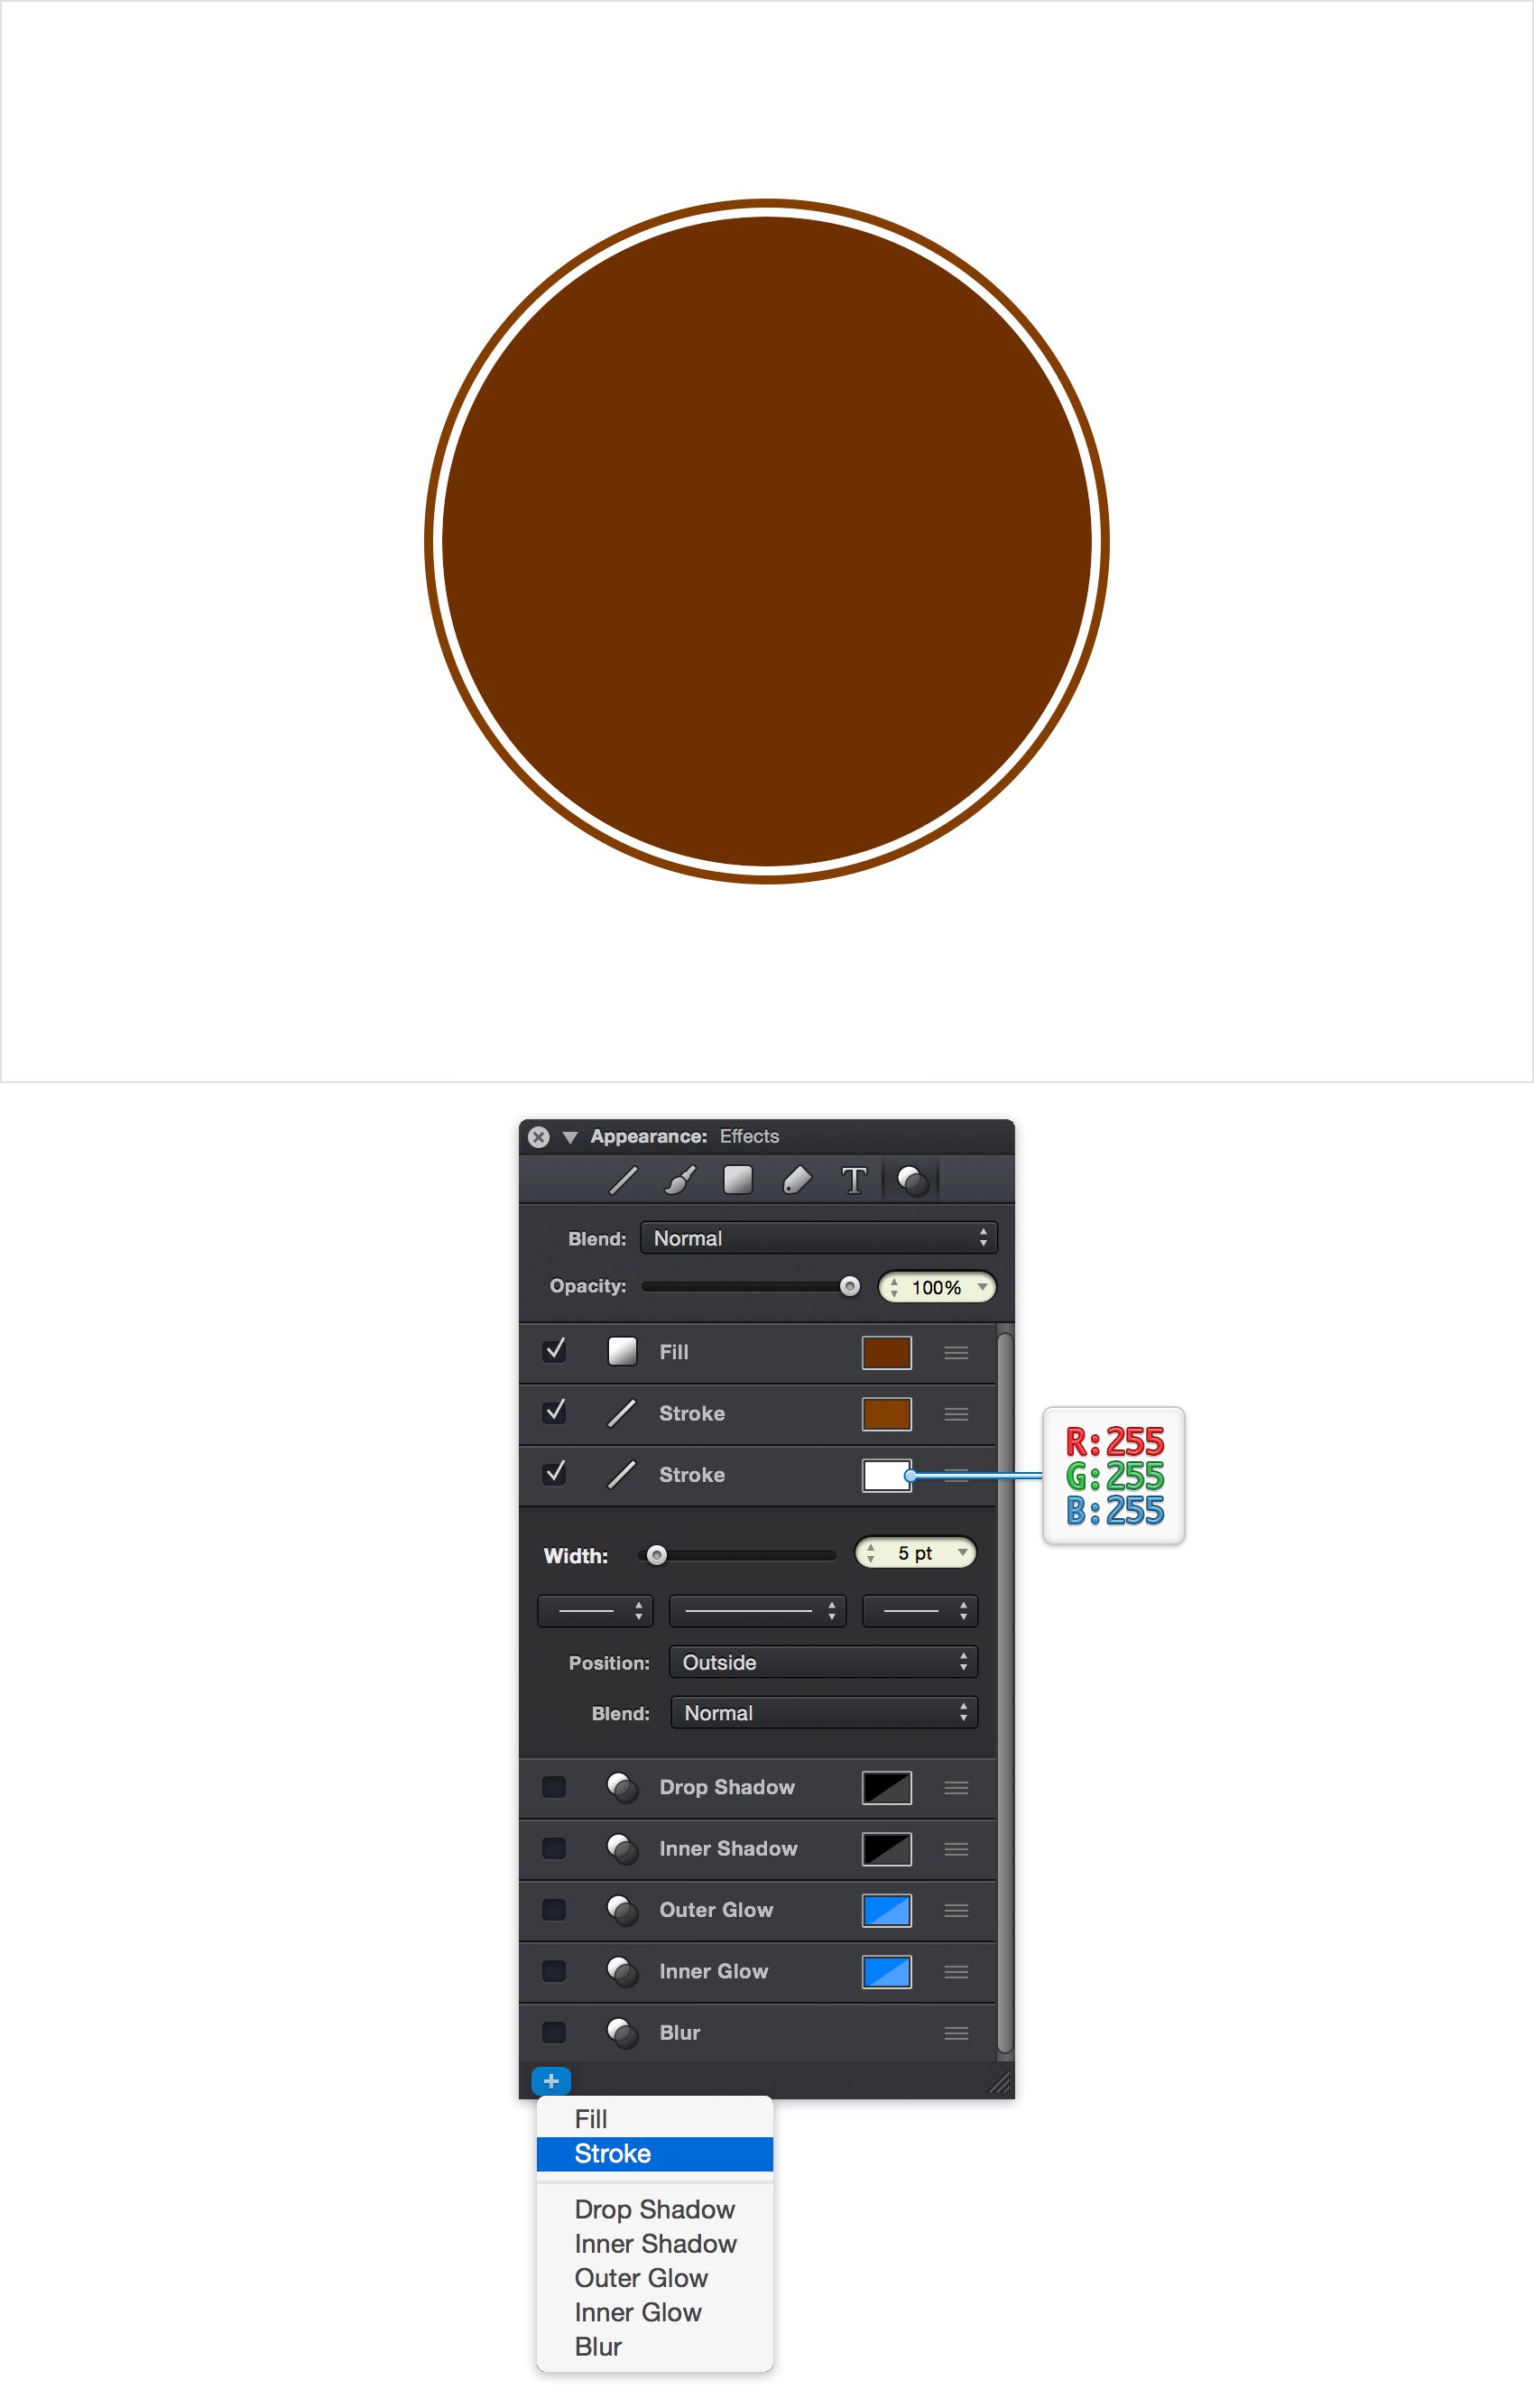
Using the Effects pane you can add multiple strokes, fills, and effects to shapes. Click the plus button from the bottom of the panel and choose 'Stroke' from the popup menu to add a second stroke to your circle shape.
Seelct this new Stroke and set the Width to 5 pt. Change the Position setting to Outside and set its color to white (R= 255 G= 255 B= 255).
Step 5 - Set a Drop Shadow
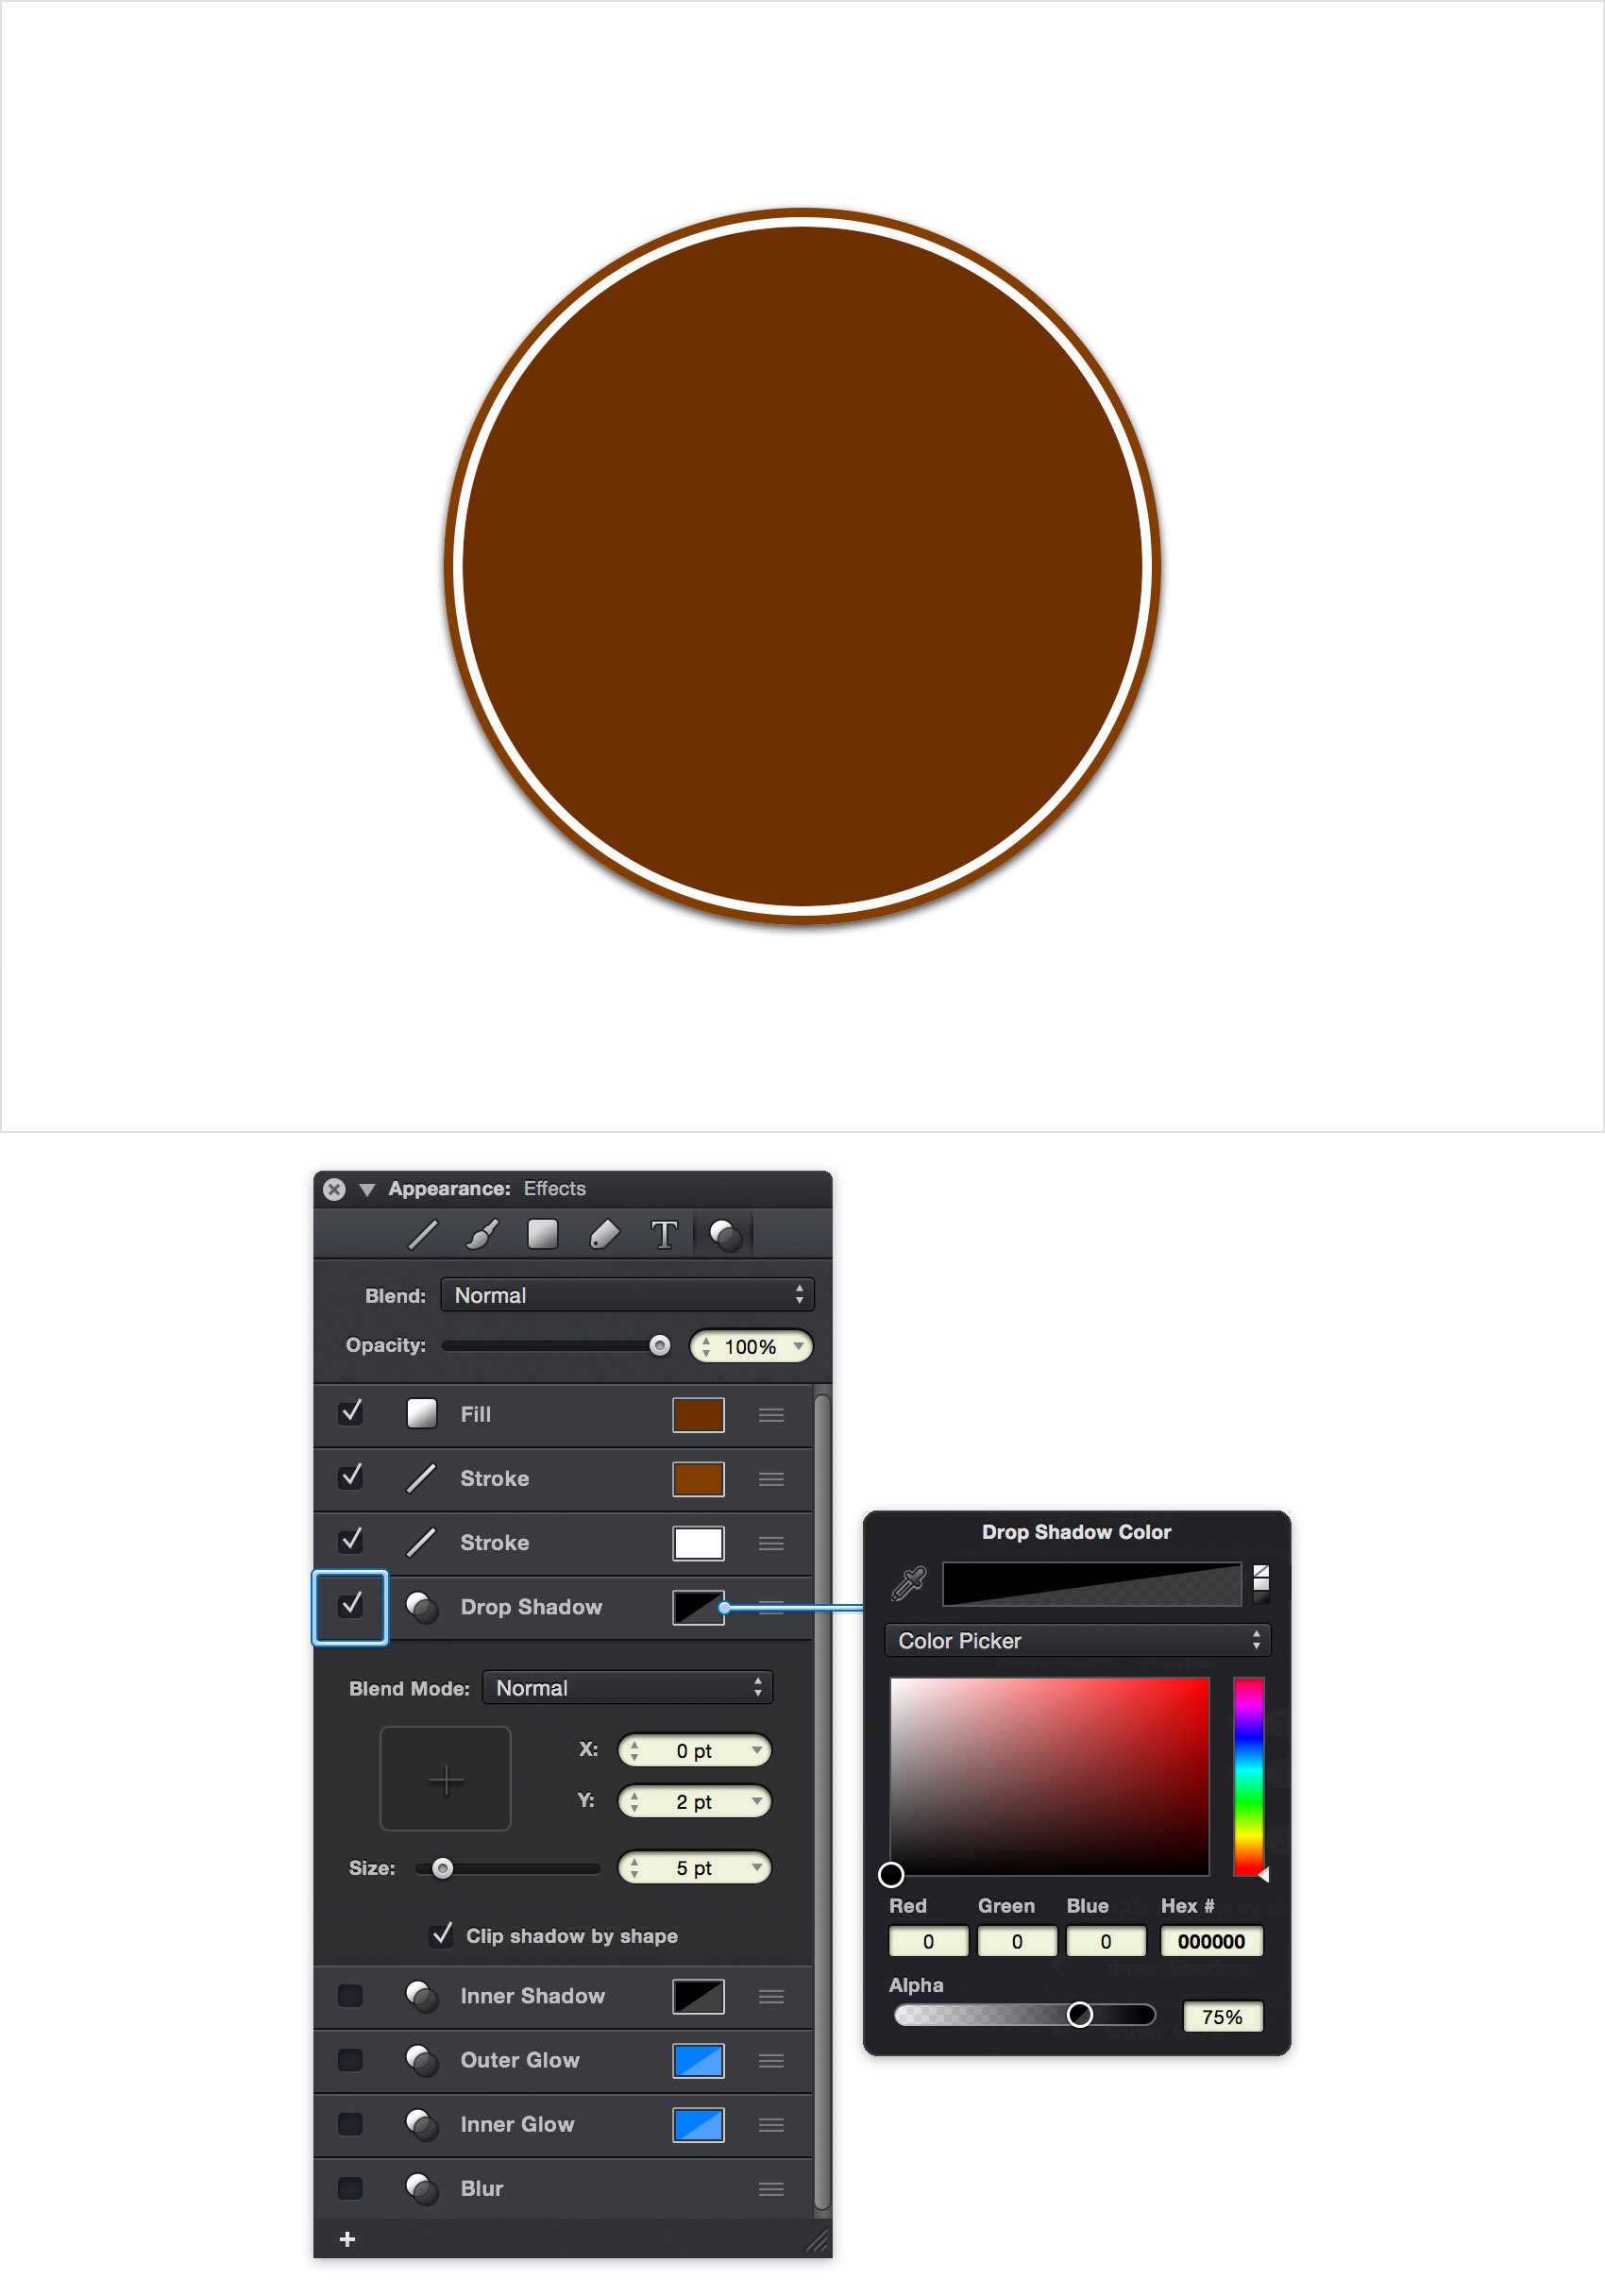
Make sure that your circle is still selected, keep focusing on the Effects pane and check the box that stands for the existing Drop Shadow effect to activate it.
Select it and enter 0 in the X box and 2 in the Y box. Drag the Size slider to 5 pt and then click the color well that stands for this Drop Shadow effect. Make sure that the color is set to black and drag the Alpha slider to 75%.
Step 6 - Add a Text Object
We will create each text label in its own layer. Create a new layer by choosing Arrange > New Layer (Shift + Command + N).
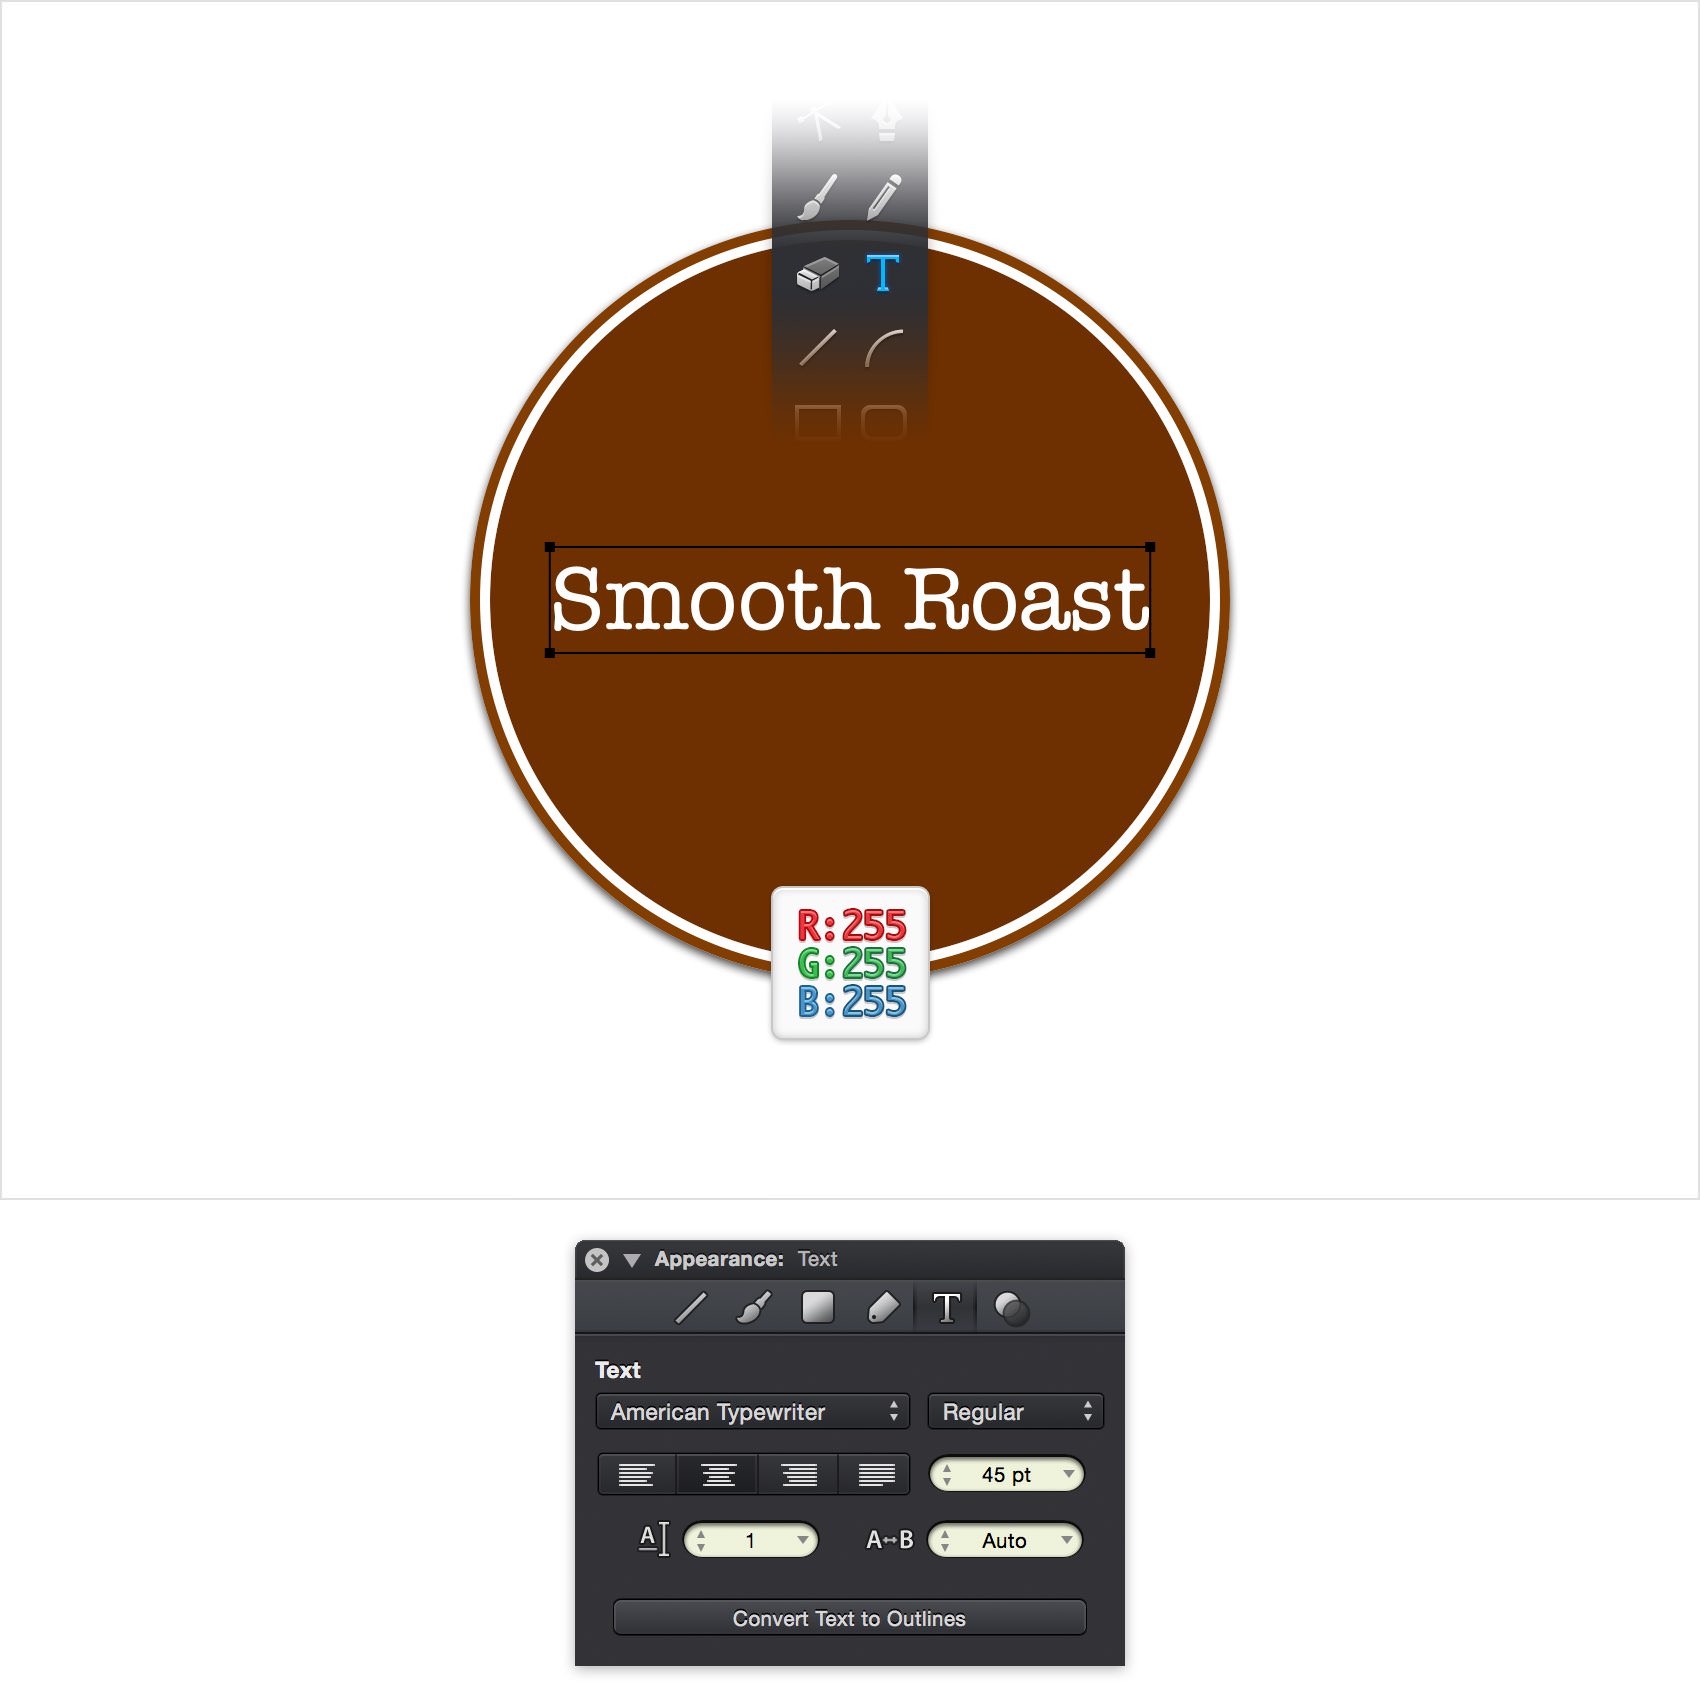
To create the first text object, choose the Text Tool (T) from the Toolbar and click and drag a text area on top of the circle. From the Tool Options bar, choose the American Typewritter font, set the style to Regular and the size to 45 pt. Change the text color to white and type the label's text, 'Smooth Roast' for this example.
Step 7 - Create the Text Path
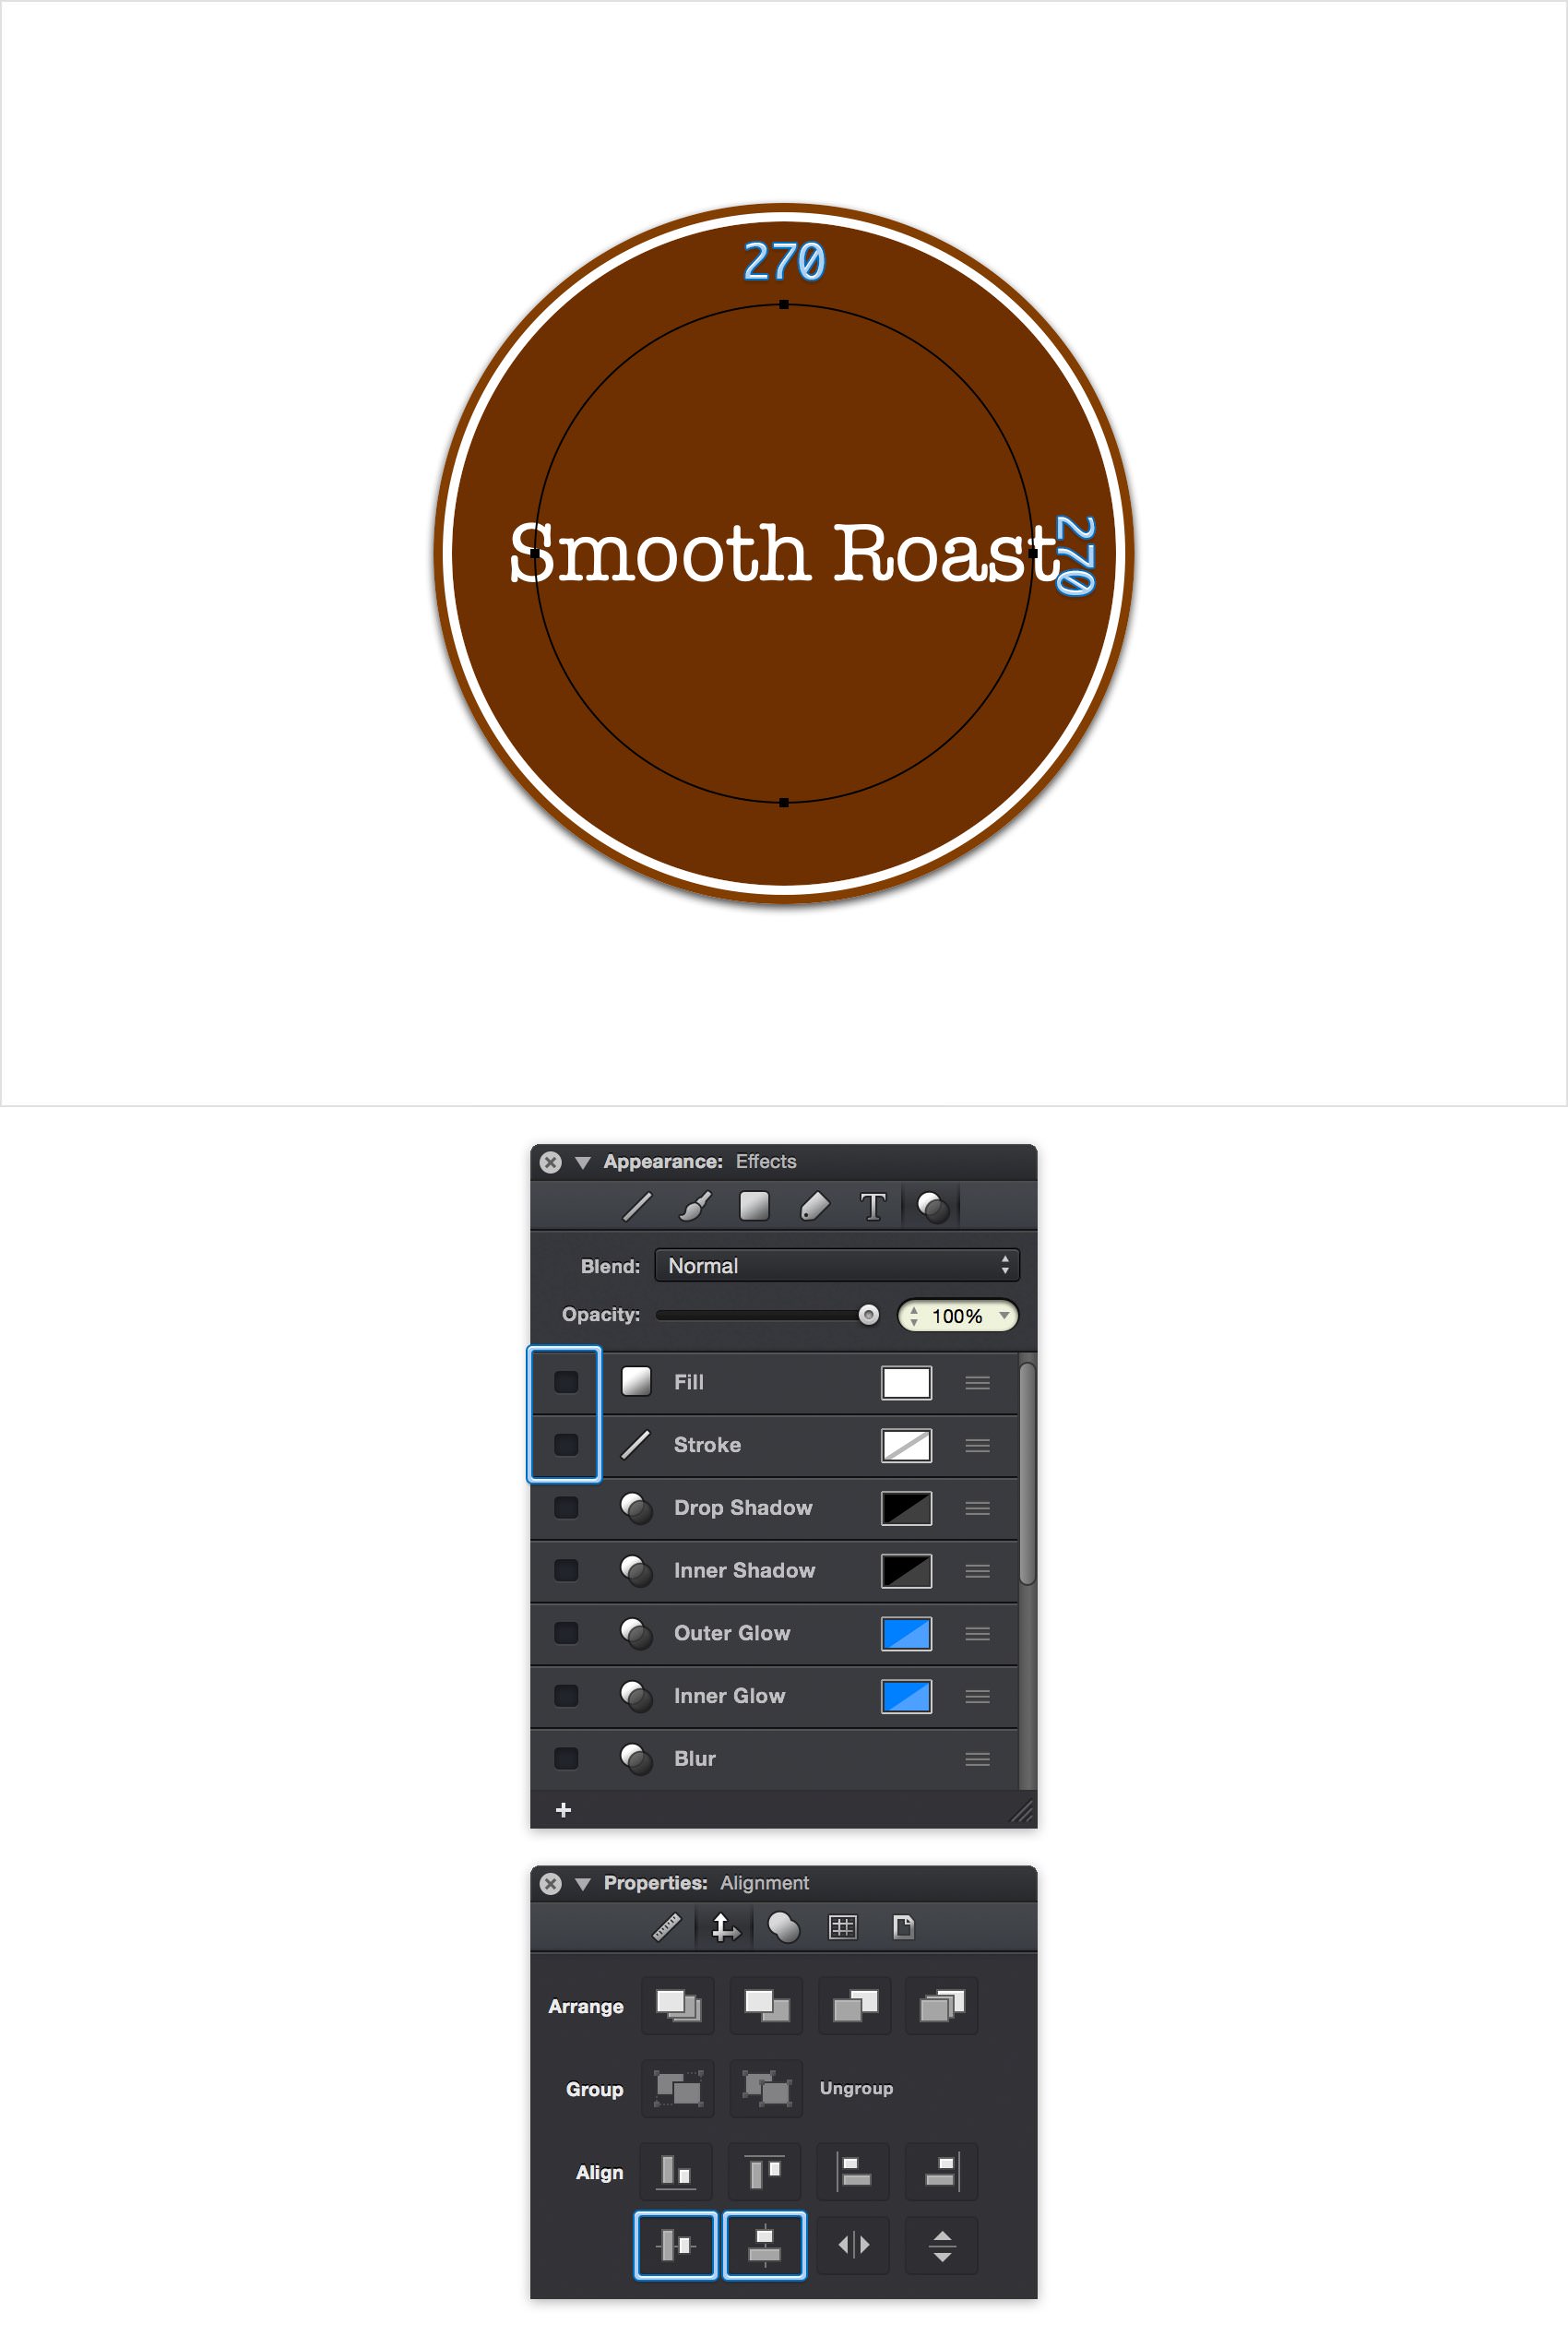
Select the Ellipse Tool (O) again from the Toolbar. Create a 270 px circle and don't forget to center it using the same buttons from the Alignment pane.
This smaller circle doesn't need a color for fill/stroke. Simply disable the active Fill and Stroke from the Effects pane.
Step 8
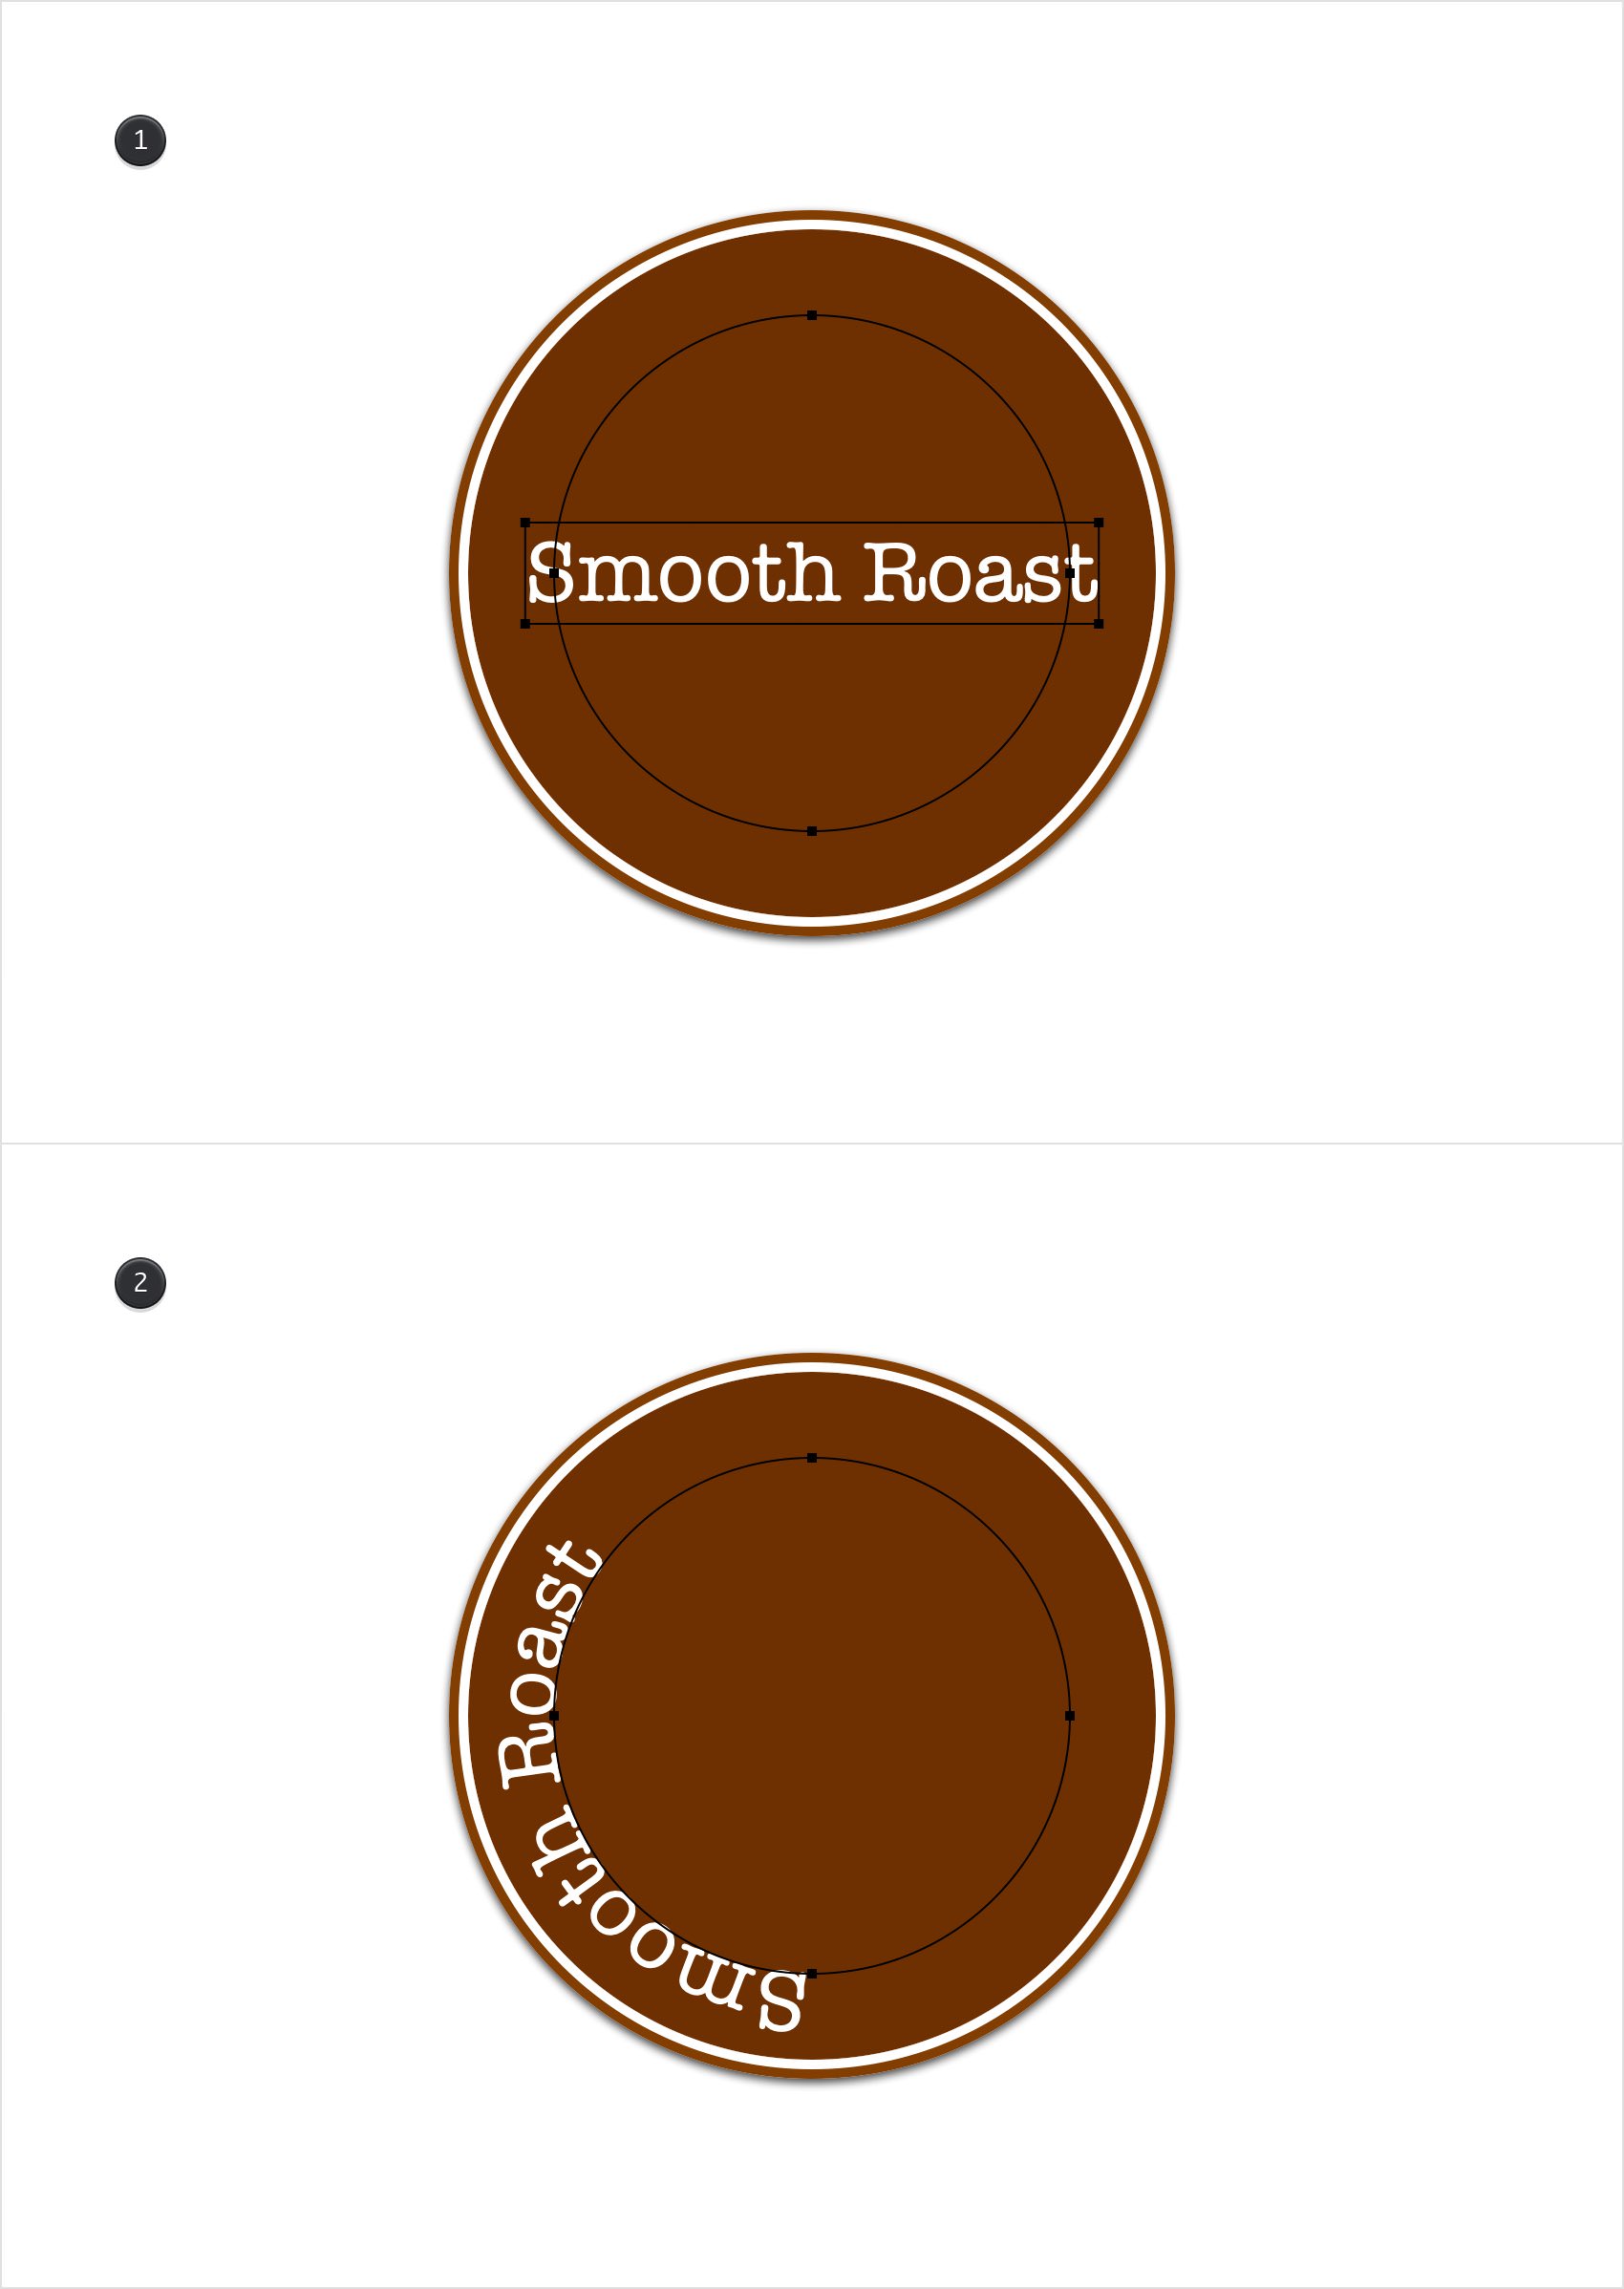
Choose the Move Tool (V) from the Toolbar and with the Shift key pressed click to select both the text object and smaller circle shape. Go to Modify > Place Text on Path to bind the text to the circle path.
Step 9
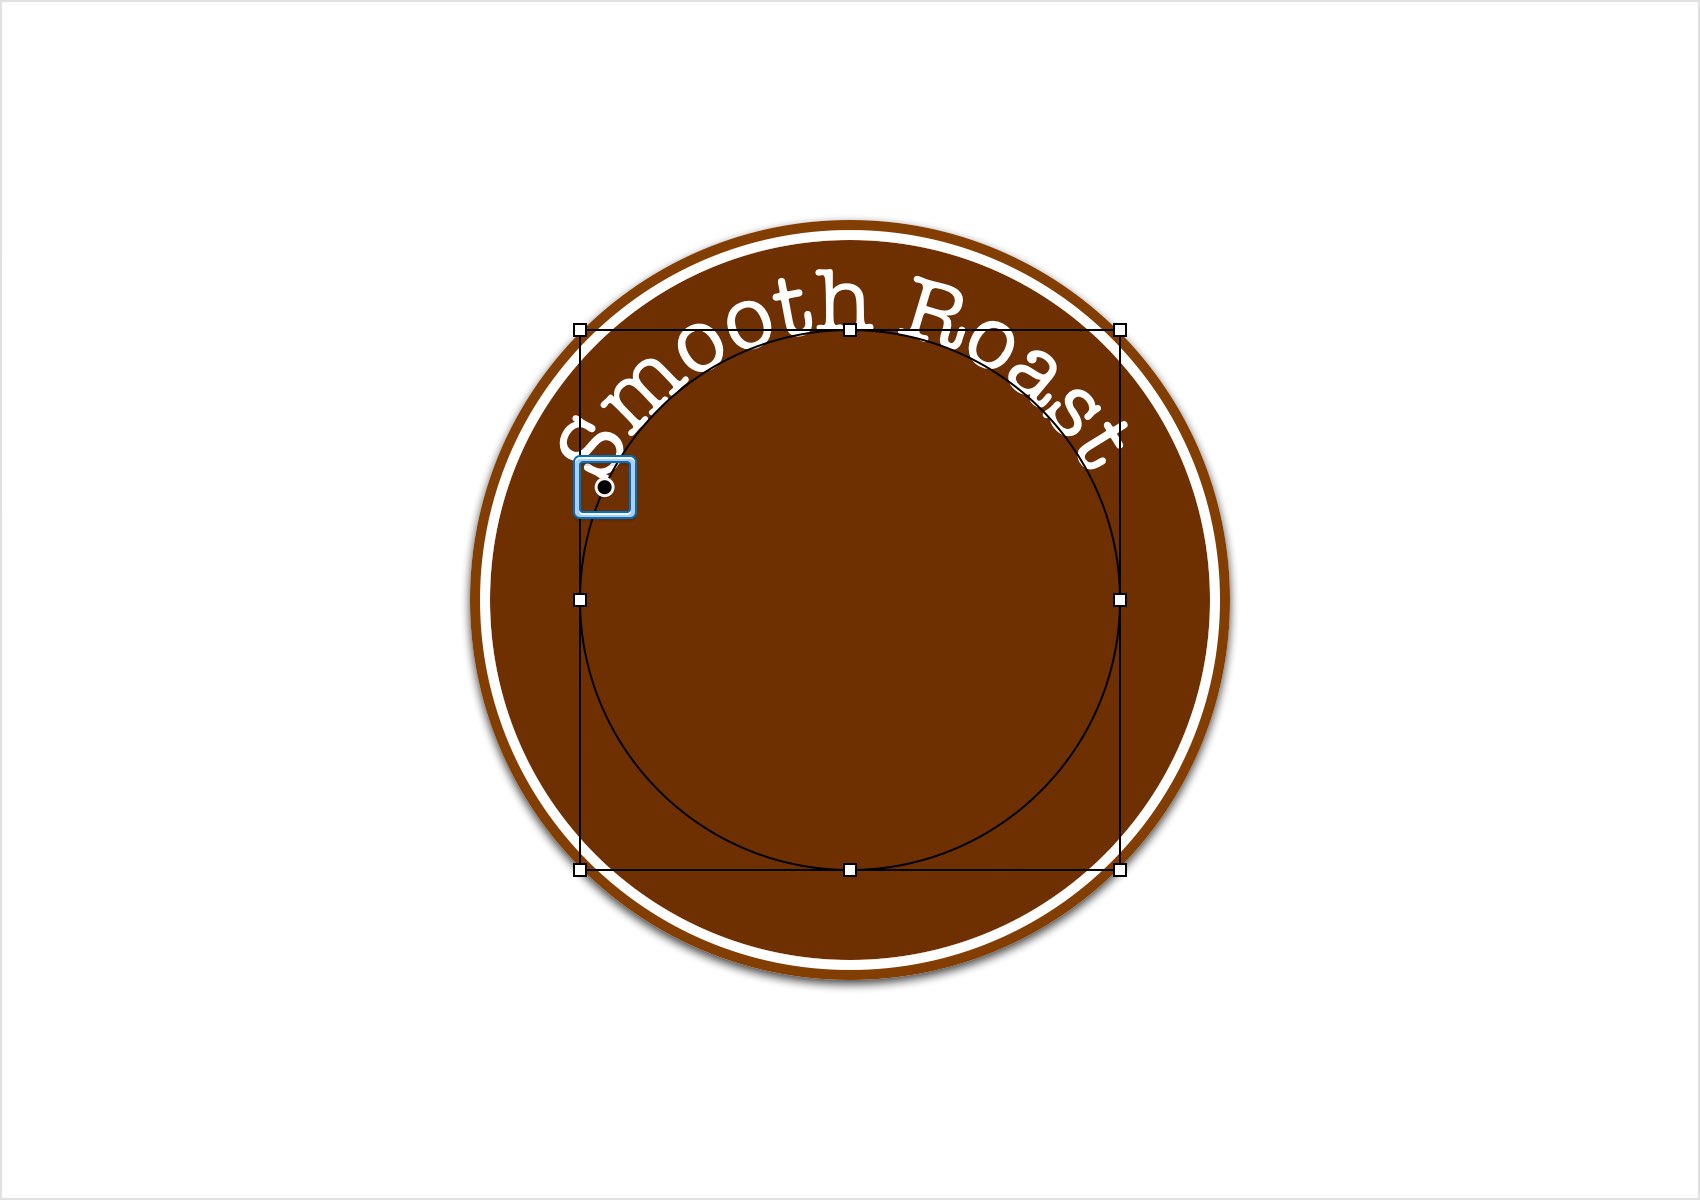
By default, the text begins at the bottom of the circle. To position the text on the path, click on the round handle next to the first character and drag it along the path.
Step 10
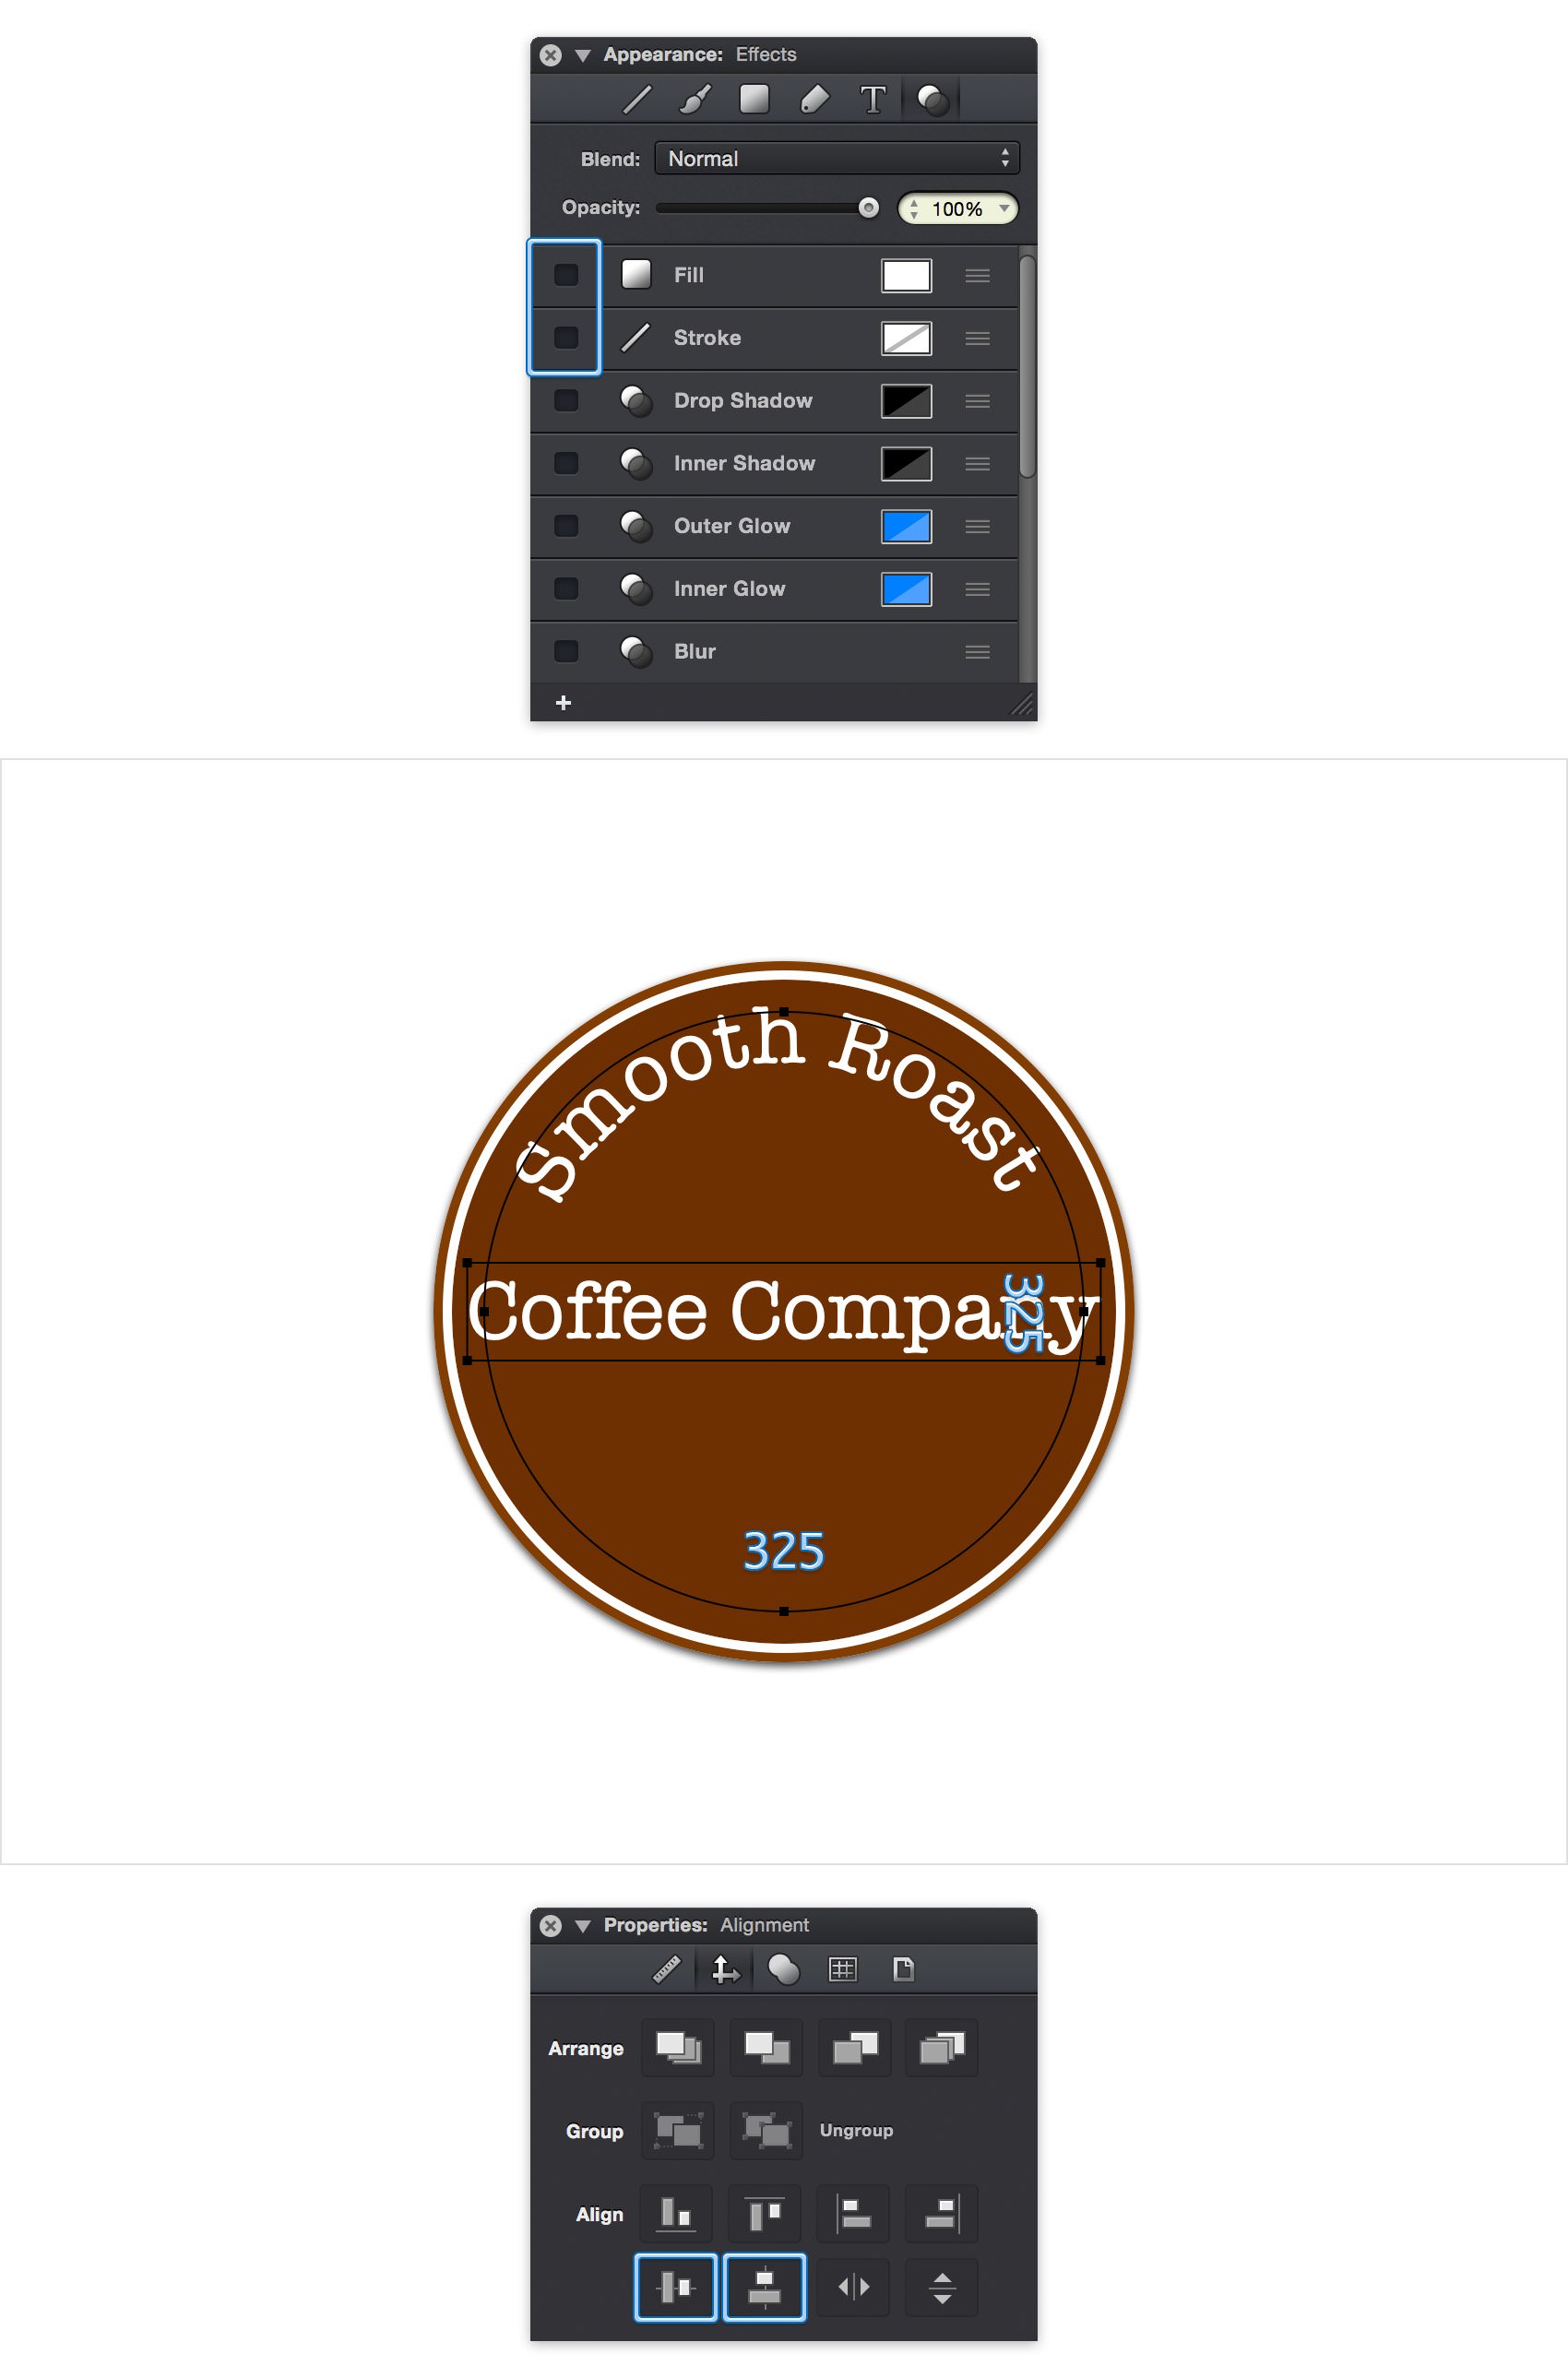
Now, you will need a grid every 5 px. This means that you need to return to the Grid pane from the Properties panel and enter 5 px in both Spacing boxes.
Create a new layer by going to Arrange > New Layer (Shift + Command + N). Using the Text Tool (T), create a second text object. Use the same style settings as before and add the 'Coffee Company' line of text.
Using the Ellipse Tool (O), create a 325 px and don't forget to center it. Make sure that it stays selected, go to the Effects pane and disable the active Fill and Stroke.
Step 11
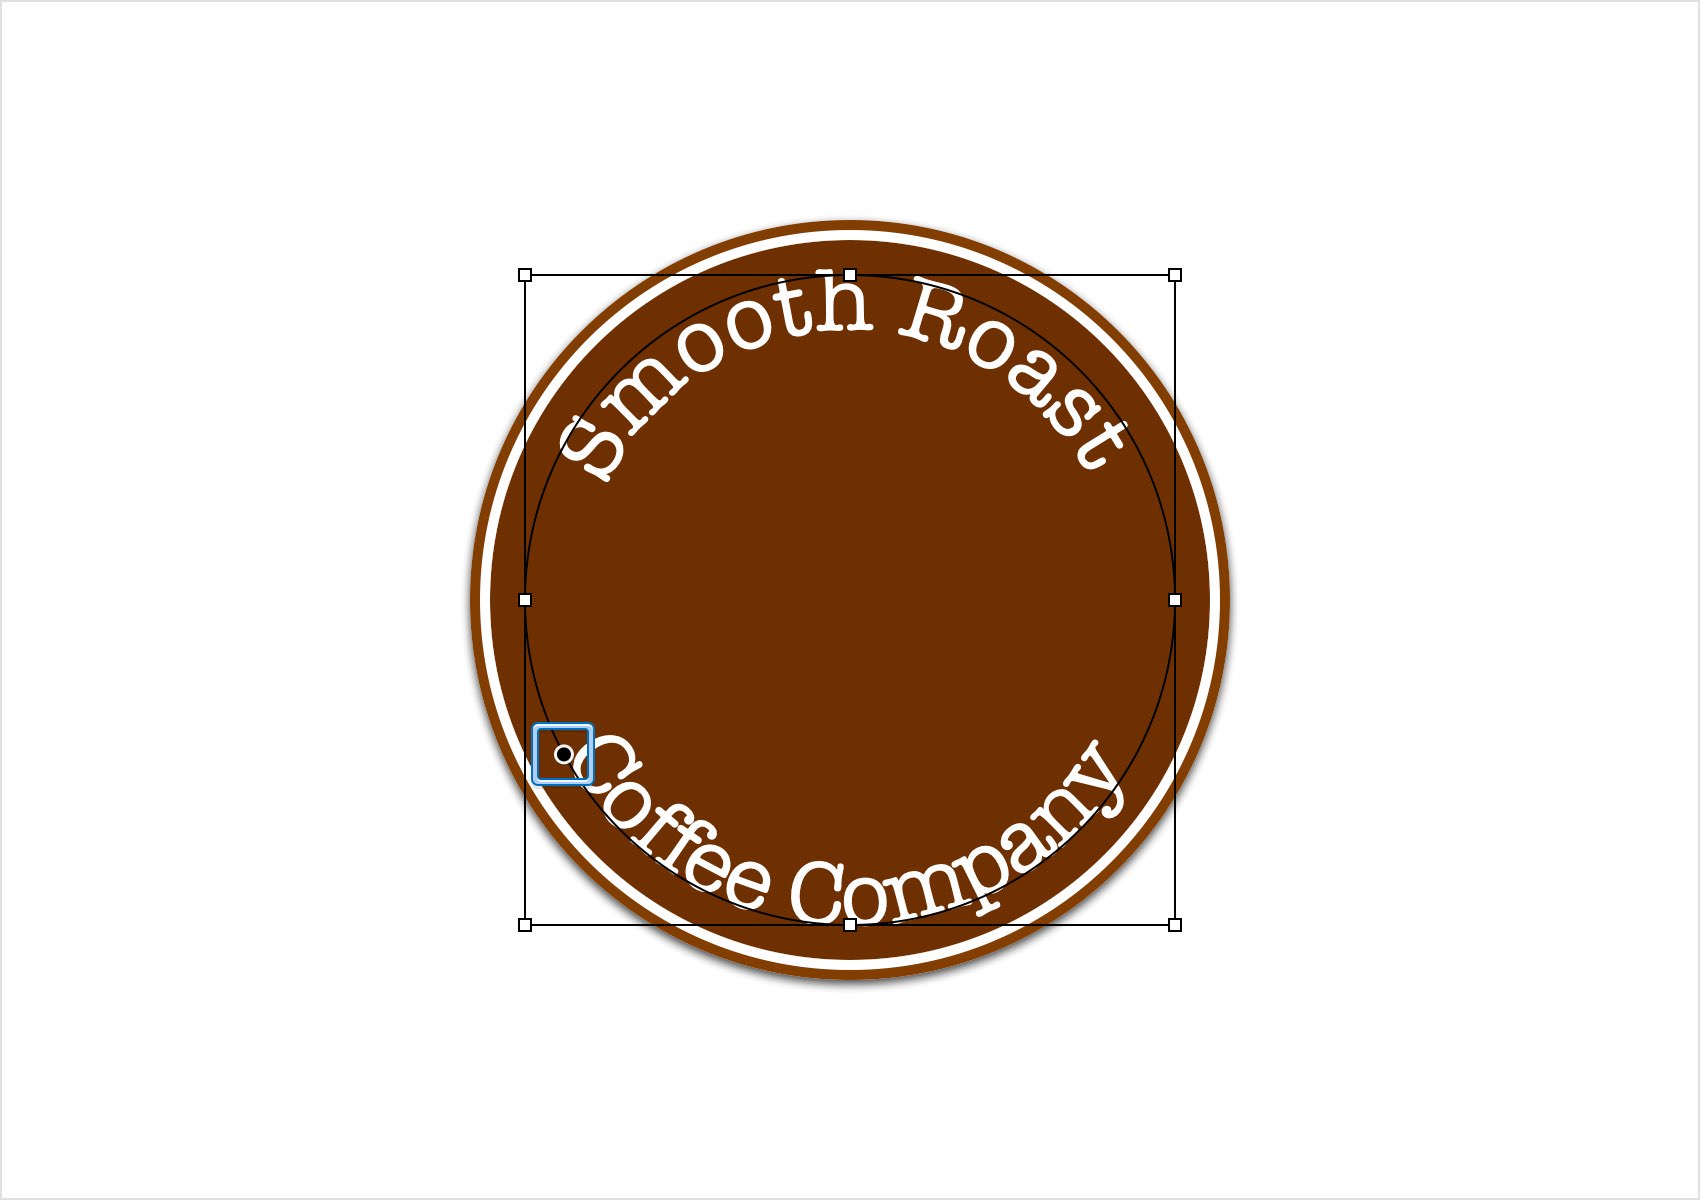
As before, select both the text object and circle path using the Move Tool (V). Go to Modify > Place Text on Path to bind the text to the path.
The text will initially be placed on the outside of the path. To place the text on the inside of the path, choose Modify > Reverse Path Direction. Click and drag the round handle to position the text at the bottom of the label.
Step 12
Create a new layer by going to Arrange > New Layer (Shift + Command + N).
Using the Ellipse Tool (O), create a 240 px circle and don't foget to center it. Set this circle's Fill color to R= 110 G= 48 B= 0 and then select the Stroke. Increase the Width to 2,5 pt, set the Position to Inside and change the color to white.
Step 13
Graphic can import vector shapes and clip art from PDF and SVG files. You can find vector design resources on many different websites, Vecteezy or Freepik are two of the largest websites that host a large library of public domain vector clipart in SVG format that can be used in Graphic.
Import the CoffeeBean.svg file using File > Open (Comnand + O), or by dragging the file to the Graphic icon in the dock. The file will open as a new Graphic document. Select the coffee bean shape and copy it to the pasteboard using Edit > Copy (Command + C). Switch back to the tutorial document. Create a new layer (Shift + Command + N) and paste the shape using Edit > Paste (Command + P).

Step 14
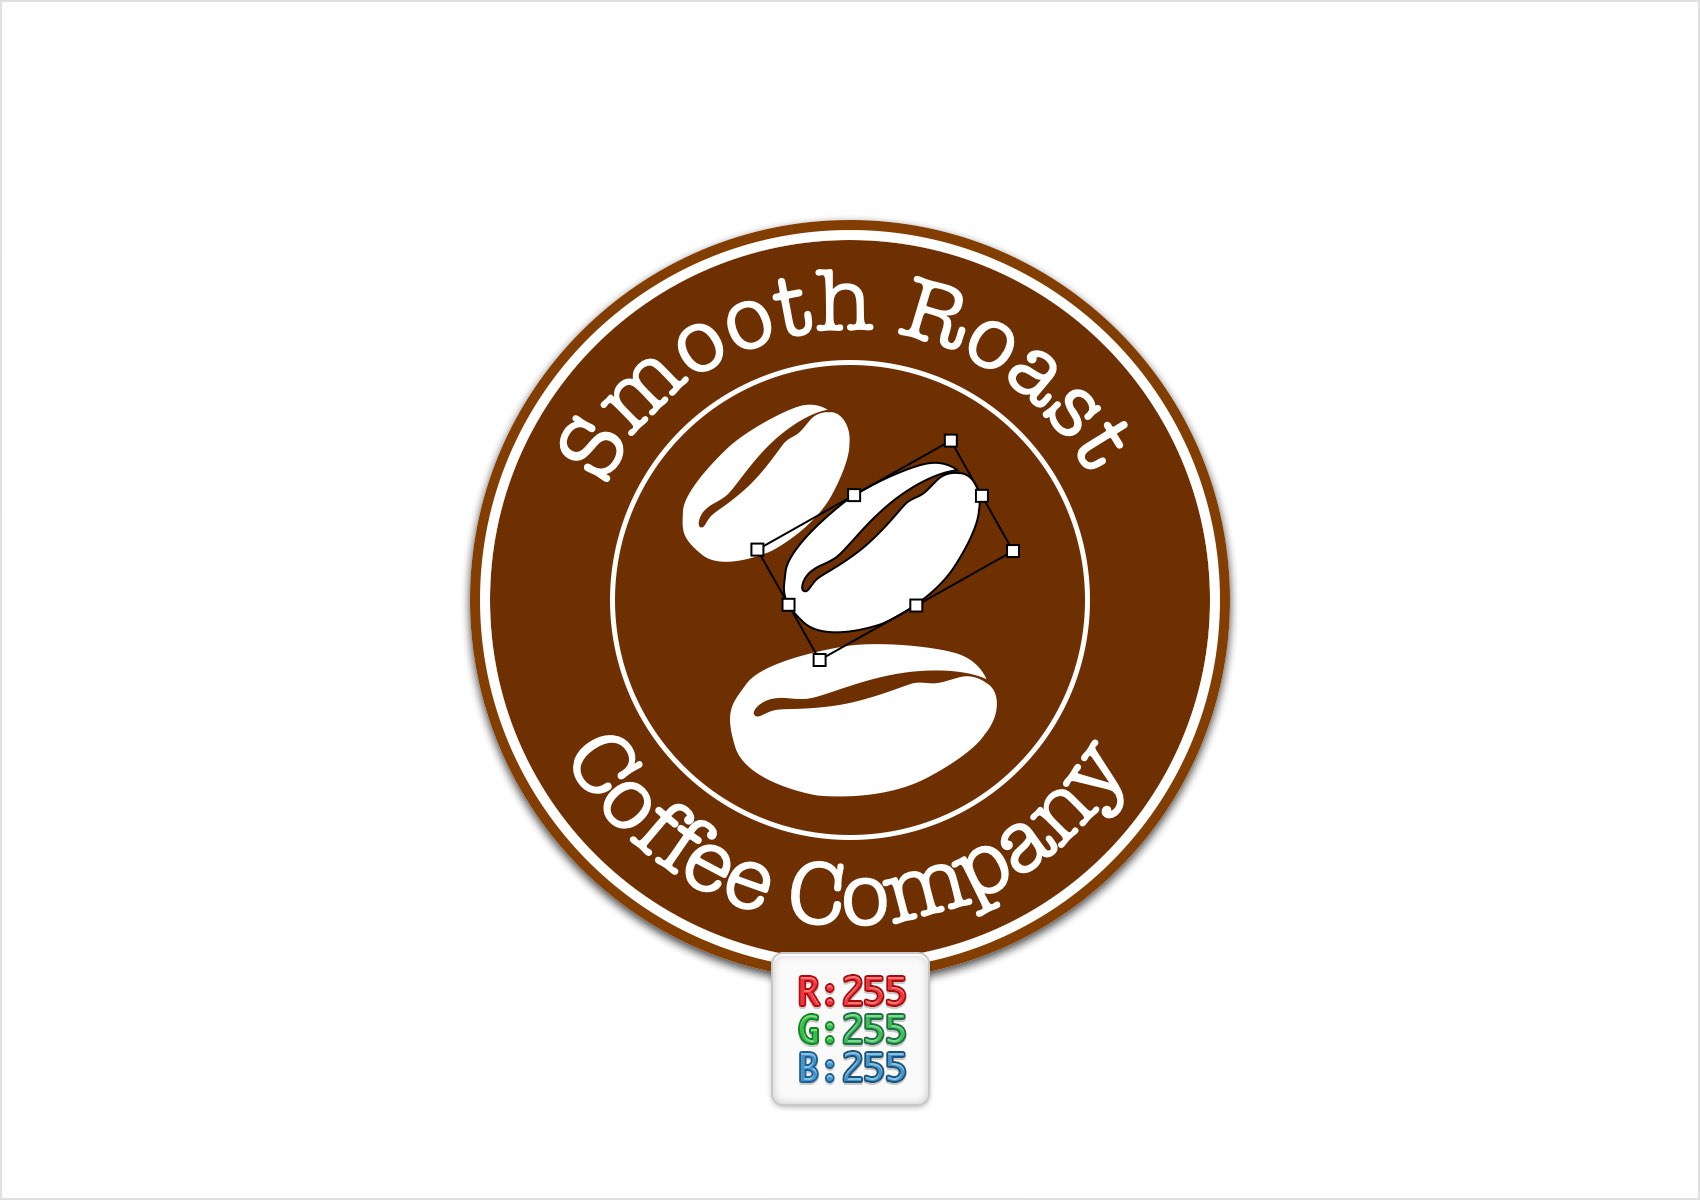
With the bean shape selected, set its Fill color to white from the Toolbar. Using the Move Tool (V), you can scale and position the coffee bean shape to fit nicely inside the center of the logo.
To create two more coffee bean shapes, you can either use the copy and paste commands or option-drag the first shape with the Move Tool. Rotate, scale, and position the bean shapes to finish the inner part of the logo.
Step 15
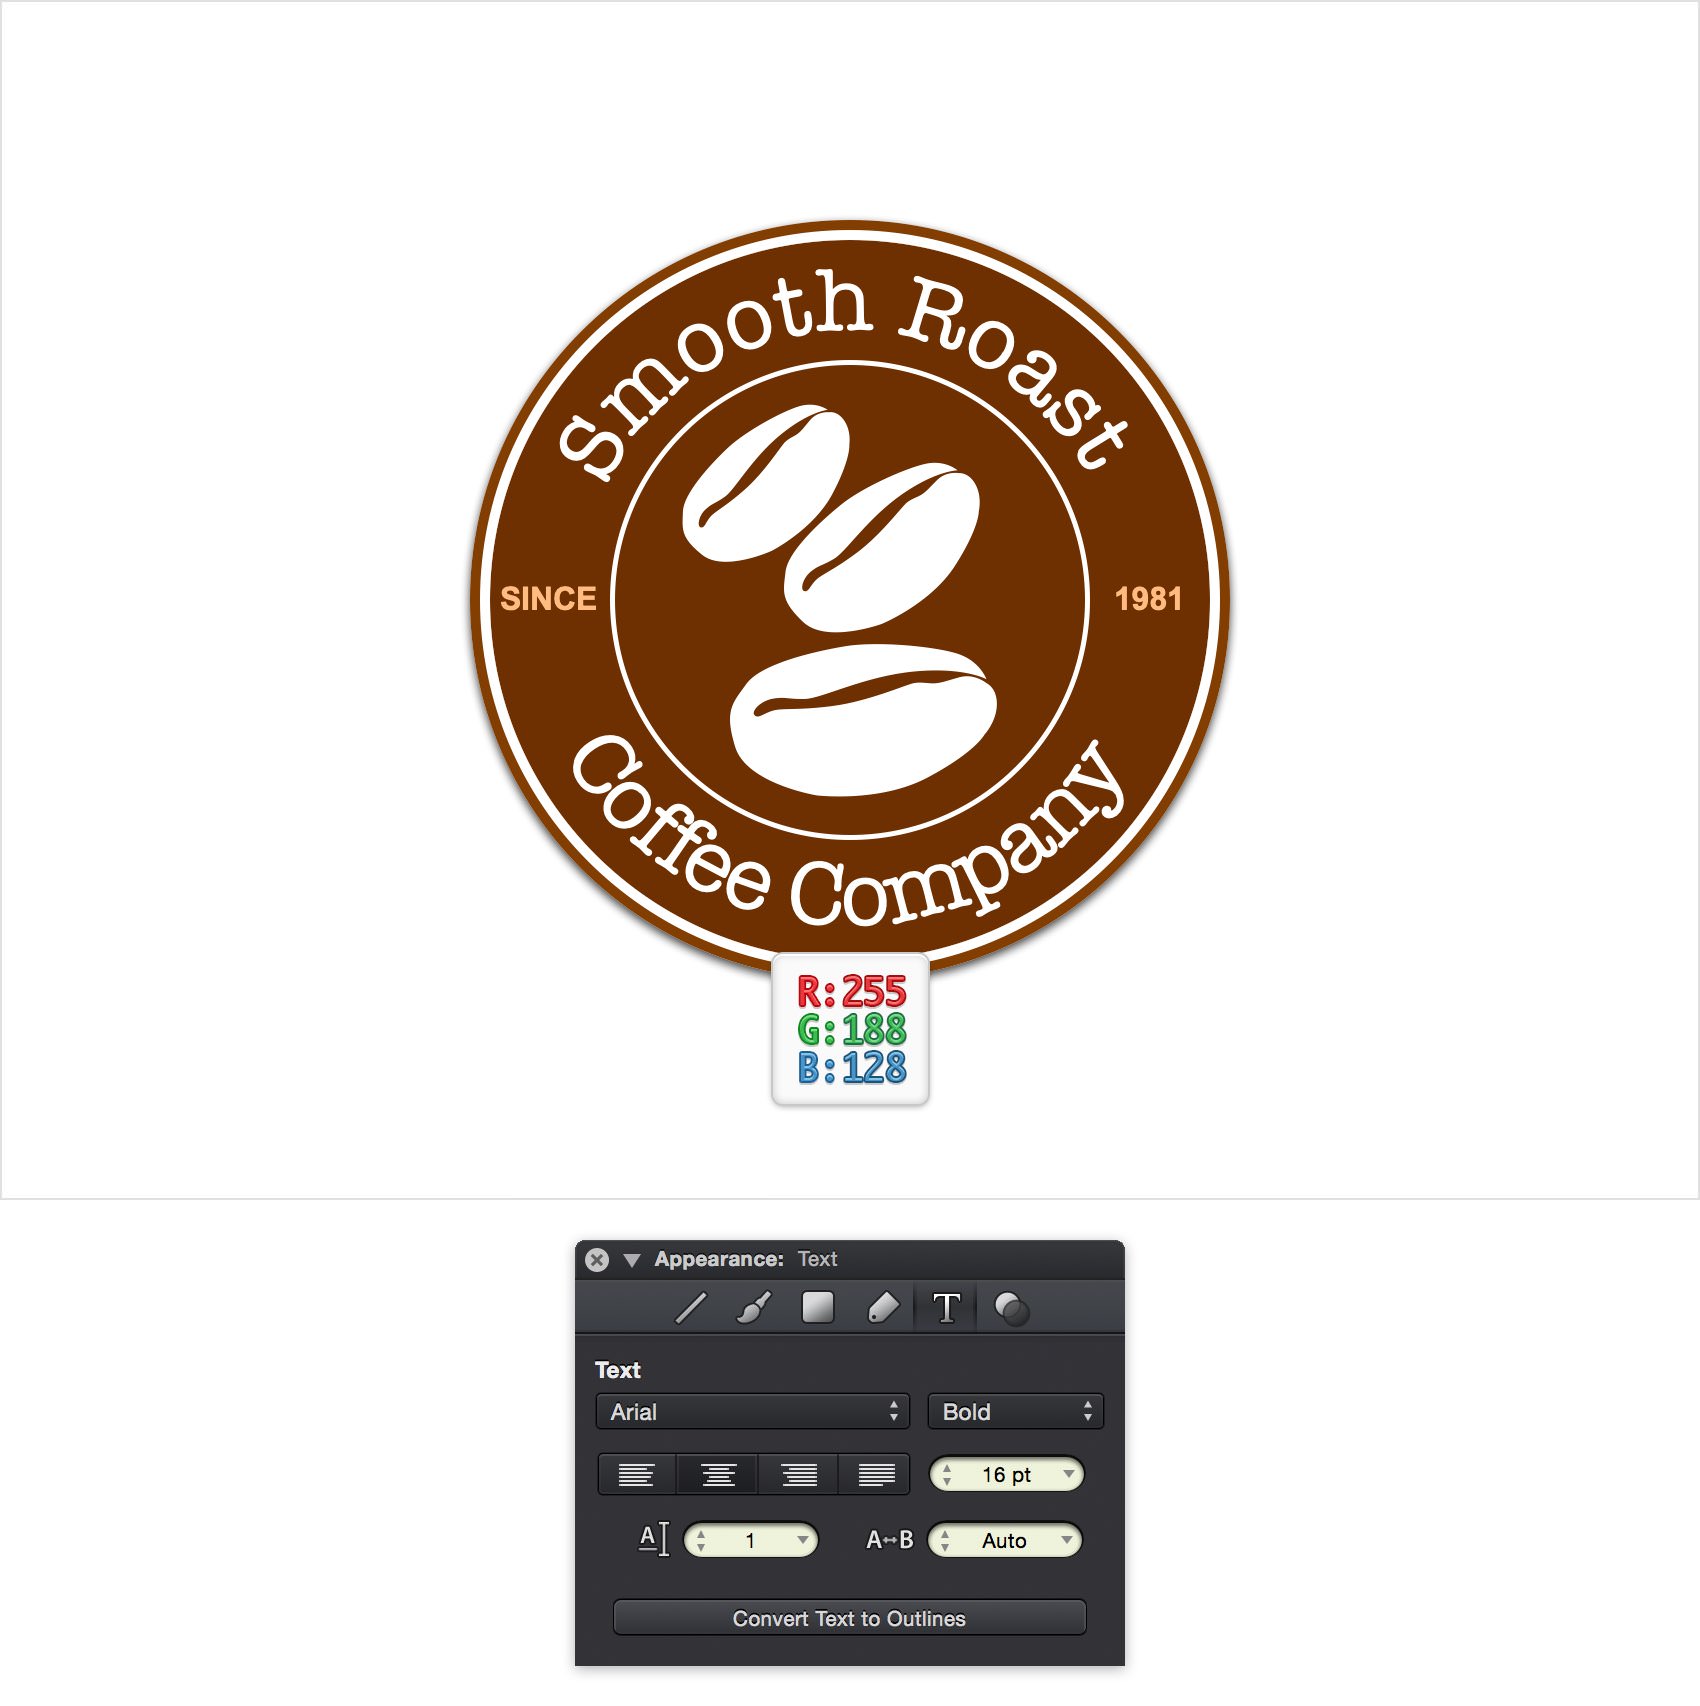
To create the smaller text labels, choose the Text Tool (T) from the Toolbar and click and drag a text area on the left side of the logo. Choose the Arial font, set the style to Bold and change the size to 16 pt. Set the text alignment to Center and the color to R= 255 G= 188 B= 128. Type 'Since' for the left side label.
Using the same attributes, create the right side label with the text '1981'.
Finished Design
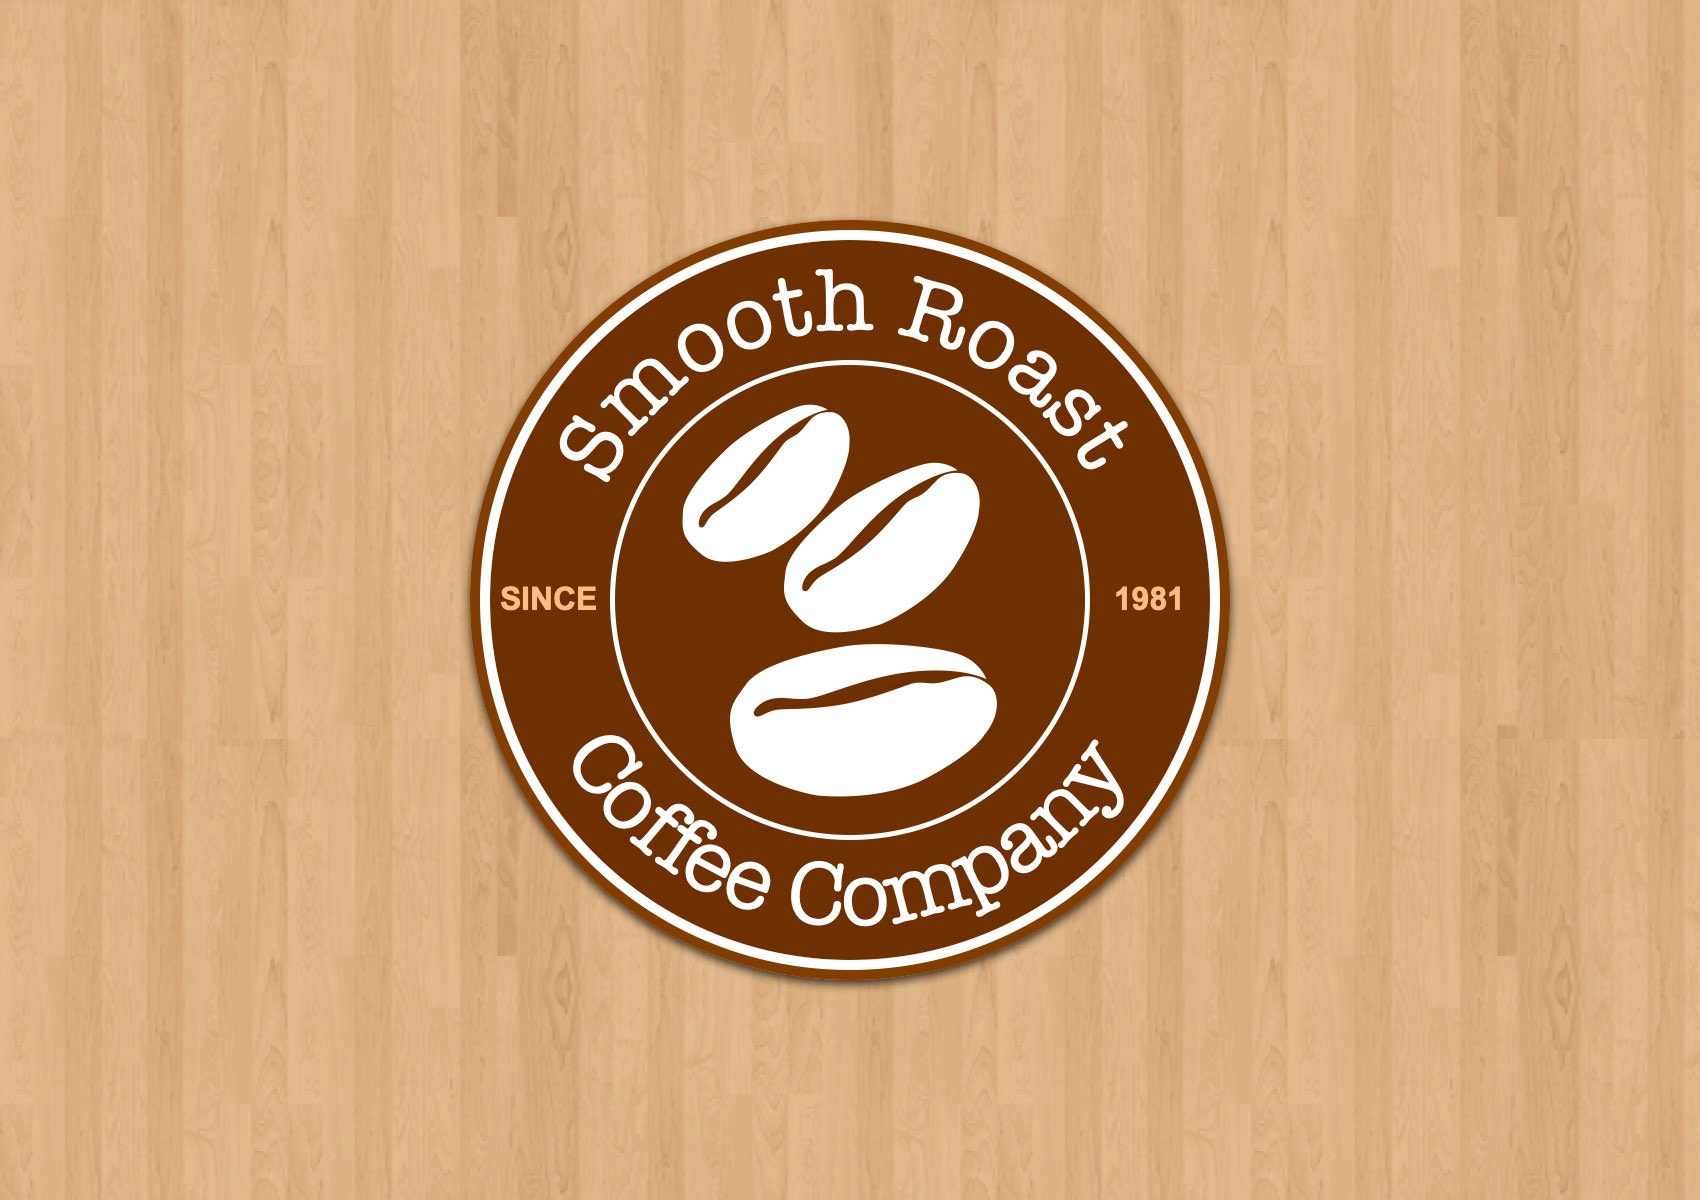
Congratulations, you've finished the tutorial!
Hope you've enjoyed learning some of the techniques and processes presented in these steps. As always, feel free to adjust the final design and make it your own.
Download Graphic File:
logo.idraw 
