


Create a Photo Collage
In this Graphic tutorial you will learn how to create a photo collage design with various layouts using imported images and photos.
Graphic can import images and photos from different file types, including PNG, JPEG, TIFF, etc., and has tools for cropping, scaling, and masking images within shapes.
Step 1 - Create a New Document
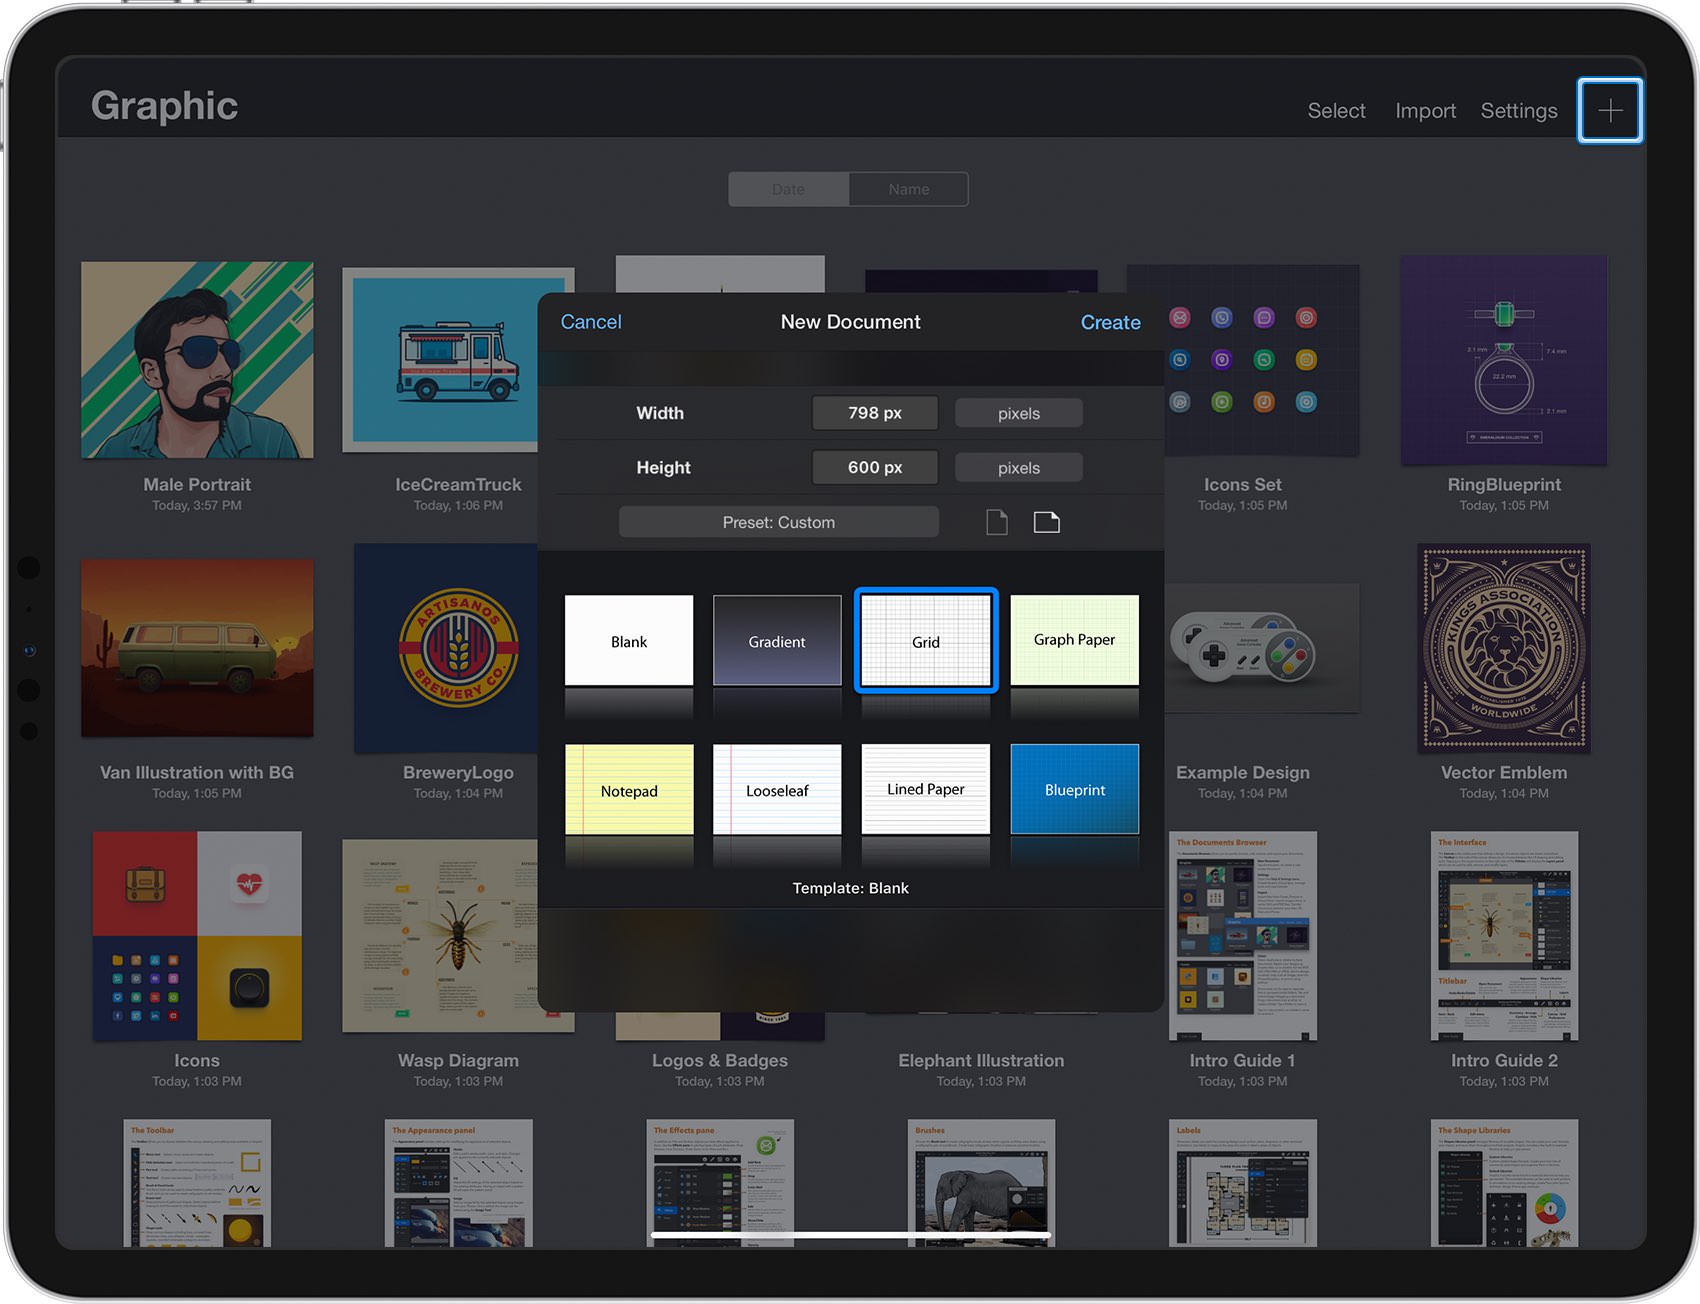
From the Documents Browser, tap the plus button at the top-right corner of the Titlebar and choose the Grid document style.
Select Pixels for the base units, set the Width to 798 px and the Height to 600 px, and then tap the Create button.
Step 2 - Customize the Grid
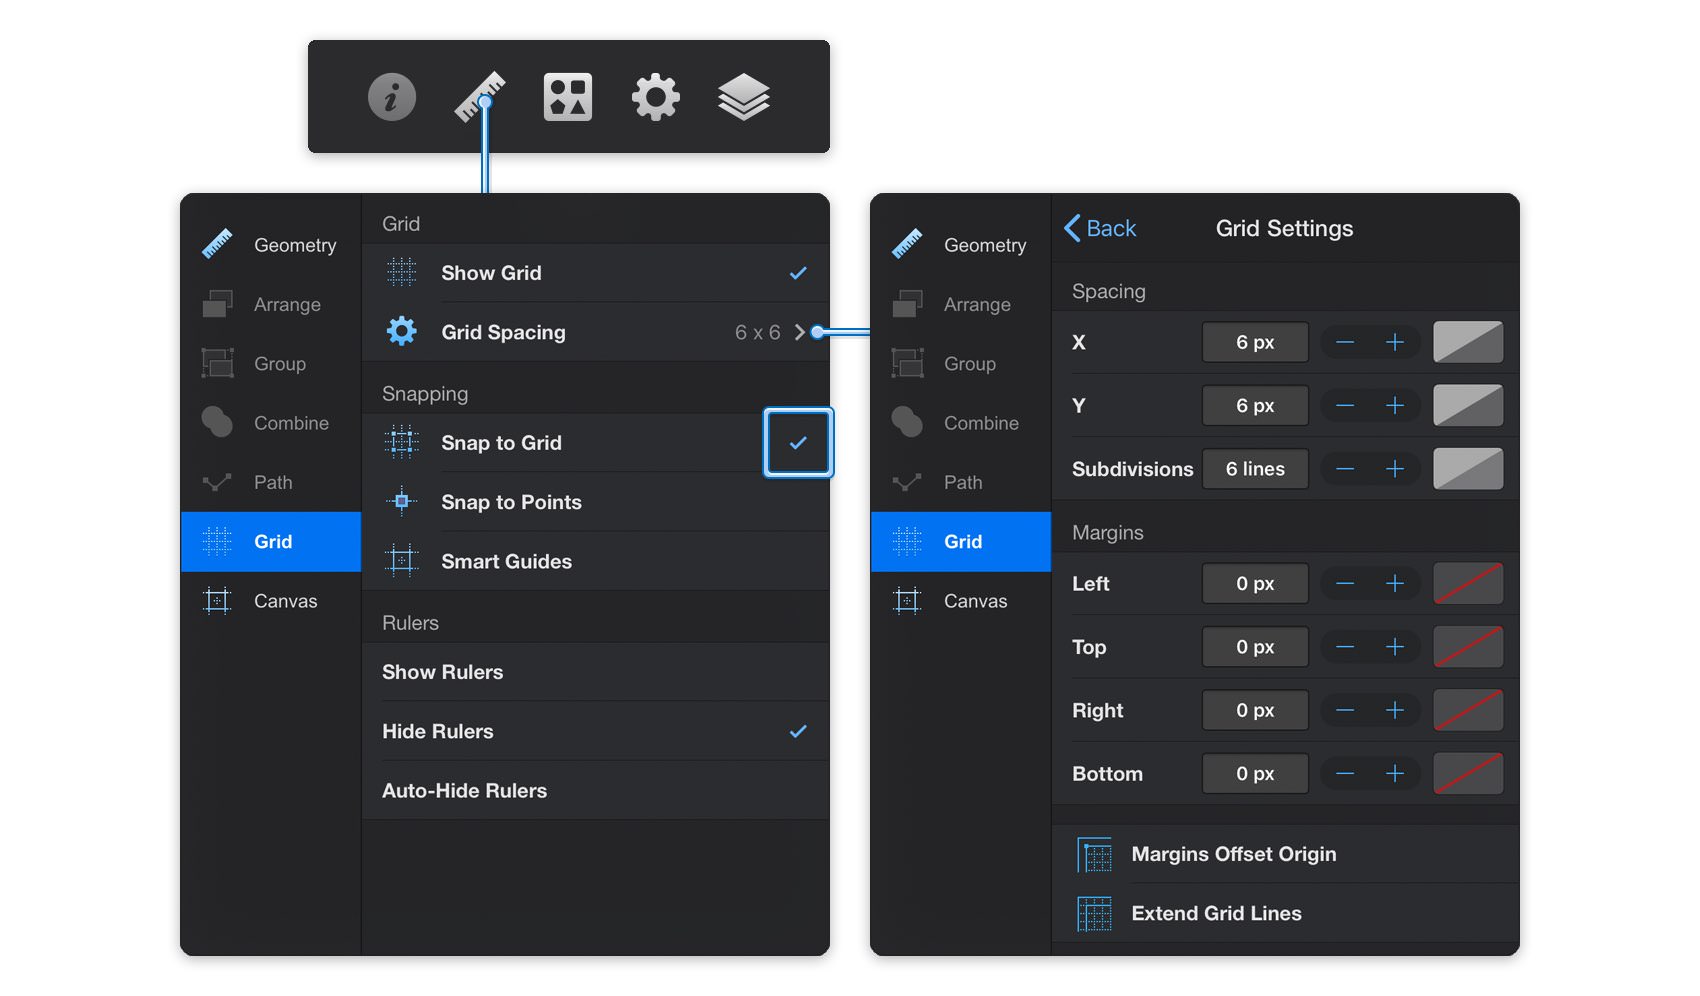
Next, we'll set up the document grid. Focus on the right side of the Titlebar and tap the ruler icon to open the Properties panel and go to the Grid pane.
Ensure that the Snap to Grid feature is enabled and keep in mind that this is where you should come whenever you wish to enable or disable the grid or Snap to Grid. Finally, tap the Grid Spacing section, enter 6 px in both Spacing boxes and 6 px in the Subdivisions box.
Step 3 - Draw the Background Shape
Next, we'll draw a shape that will act as our background for the collage. In this case we'll use a rounded rectangle, but we could also use a regular rectangle or other large shape, depending on the desired style for the collage.
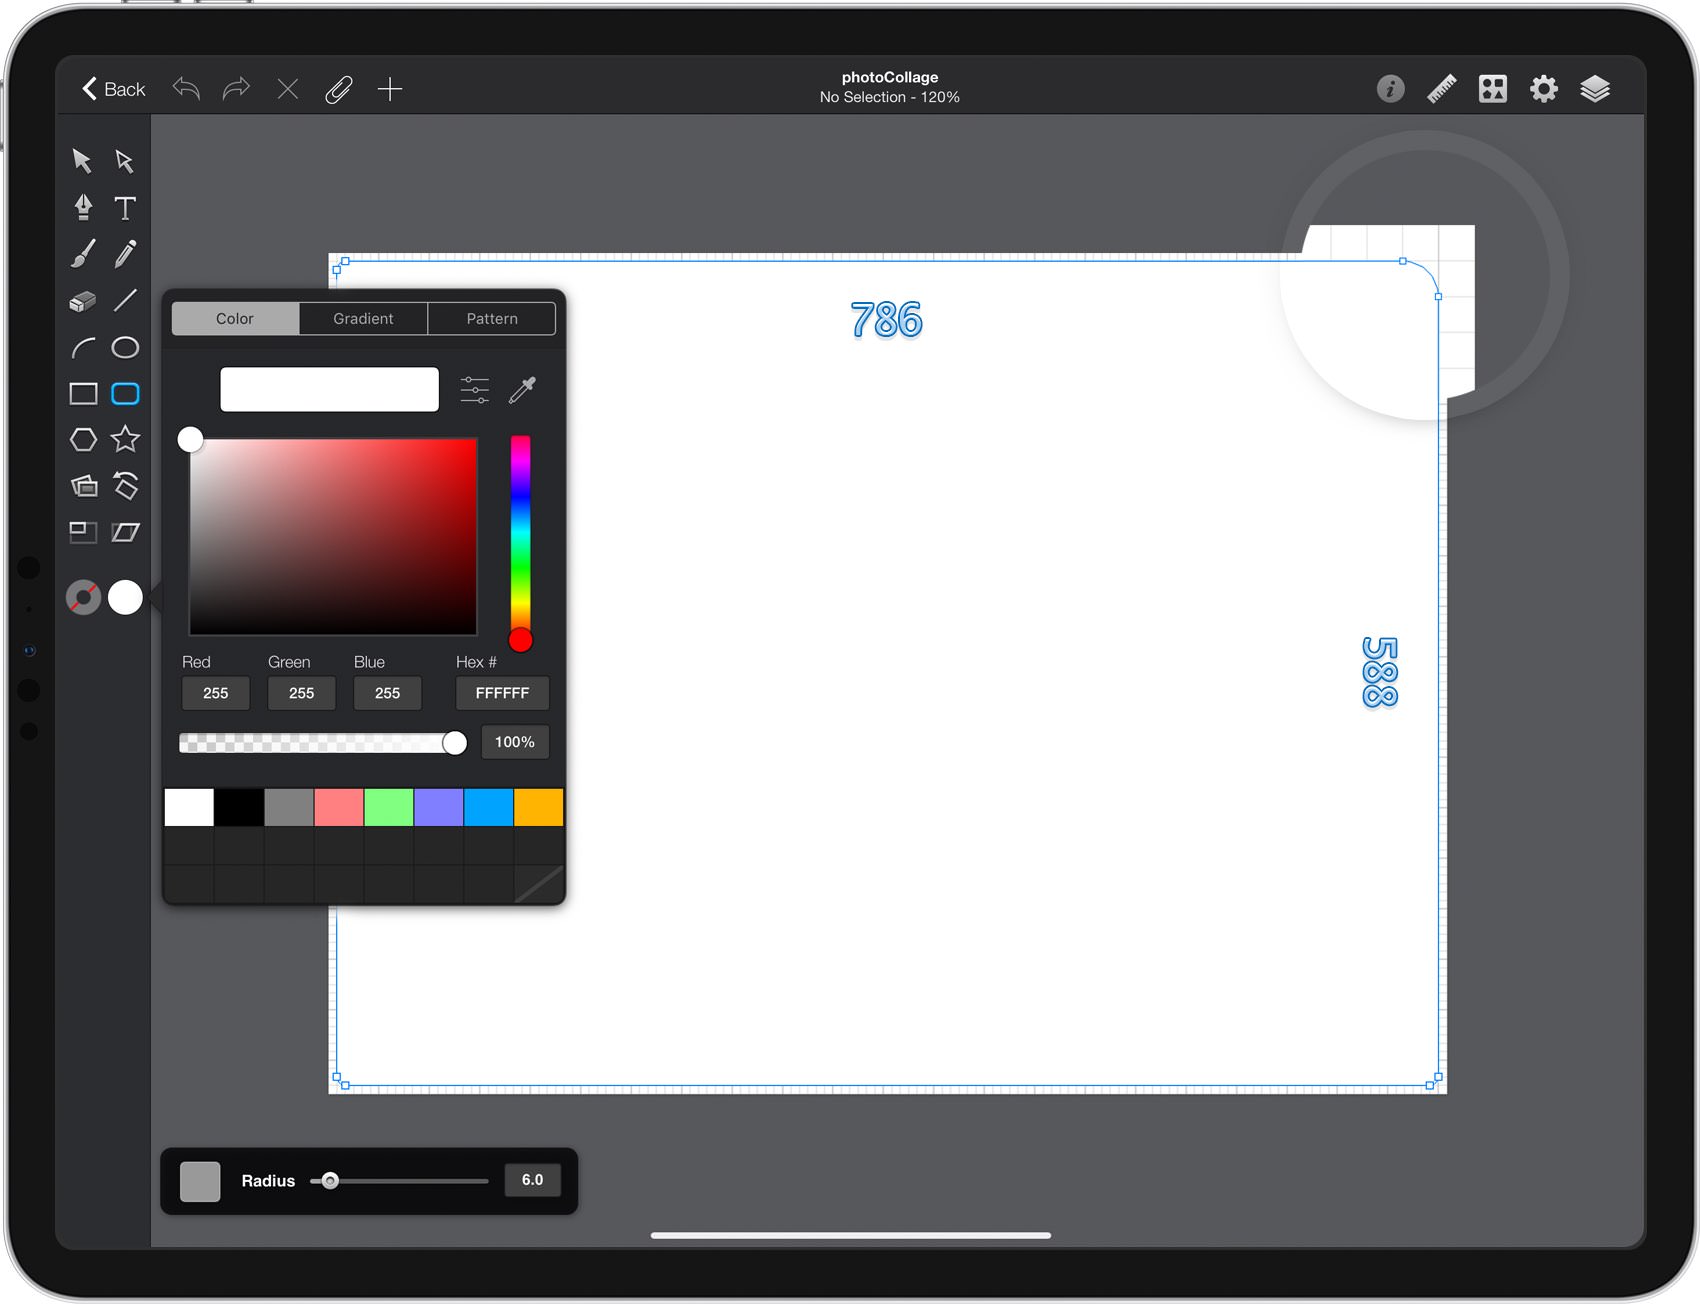
Focus on your Toolbar and tap the Fill color well. Make sure that the color is set to white (R=0 G=0 B=0) and then tap the Line color well. Drag that Alpha slider to 0% which will make your line invisible.
Pick the Rounded Rectangle Tool, focus on the newly opened Tool Options pane and drag the Radius slider to 6. Move to yor canvas, create a 786 x 588 px shape and place it as shown below — the grid and the Snap to Grid feature will ease your work.
Step 4 - Create an Image Placeholder
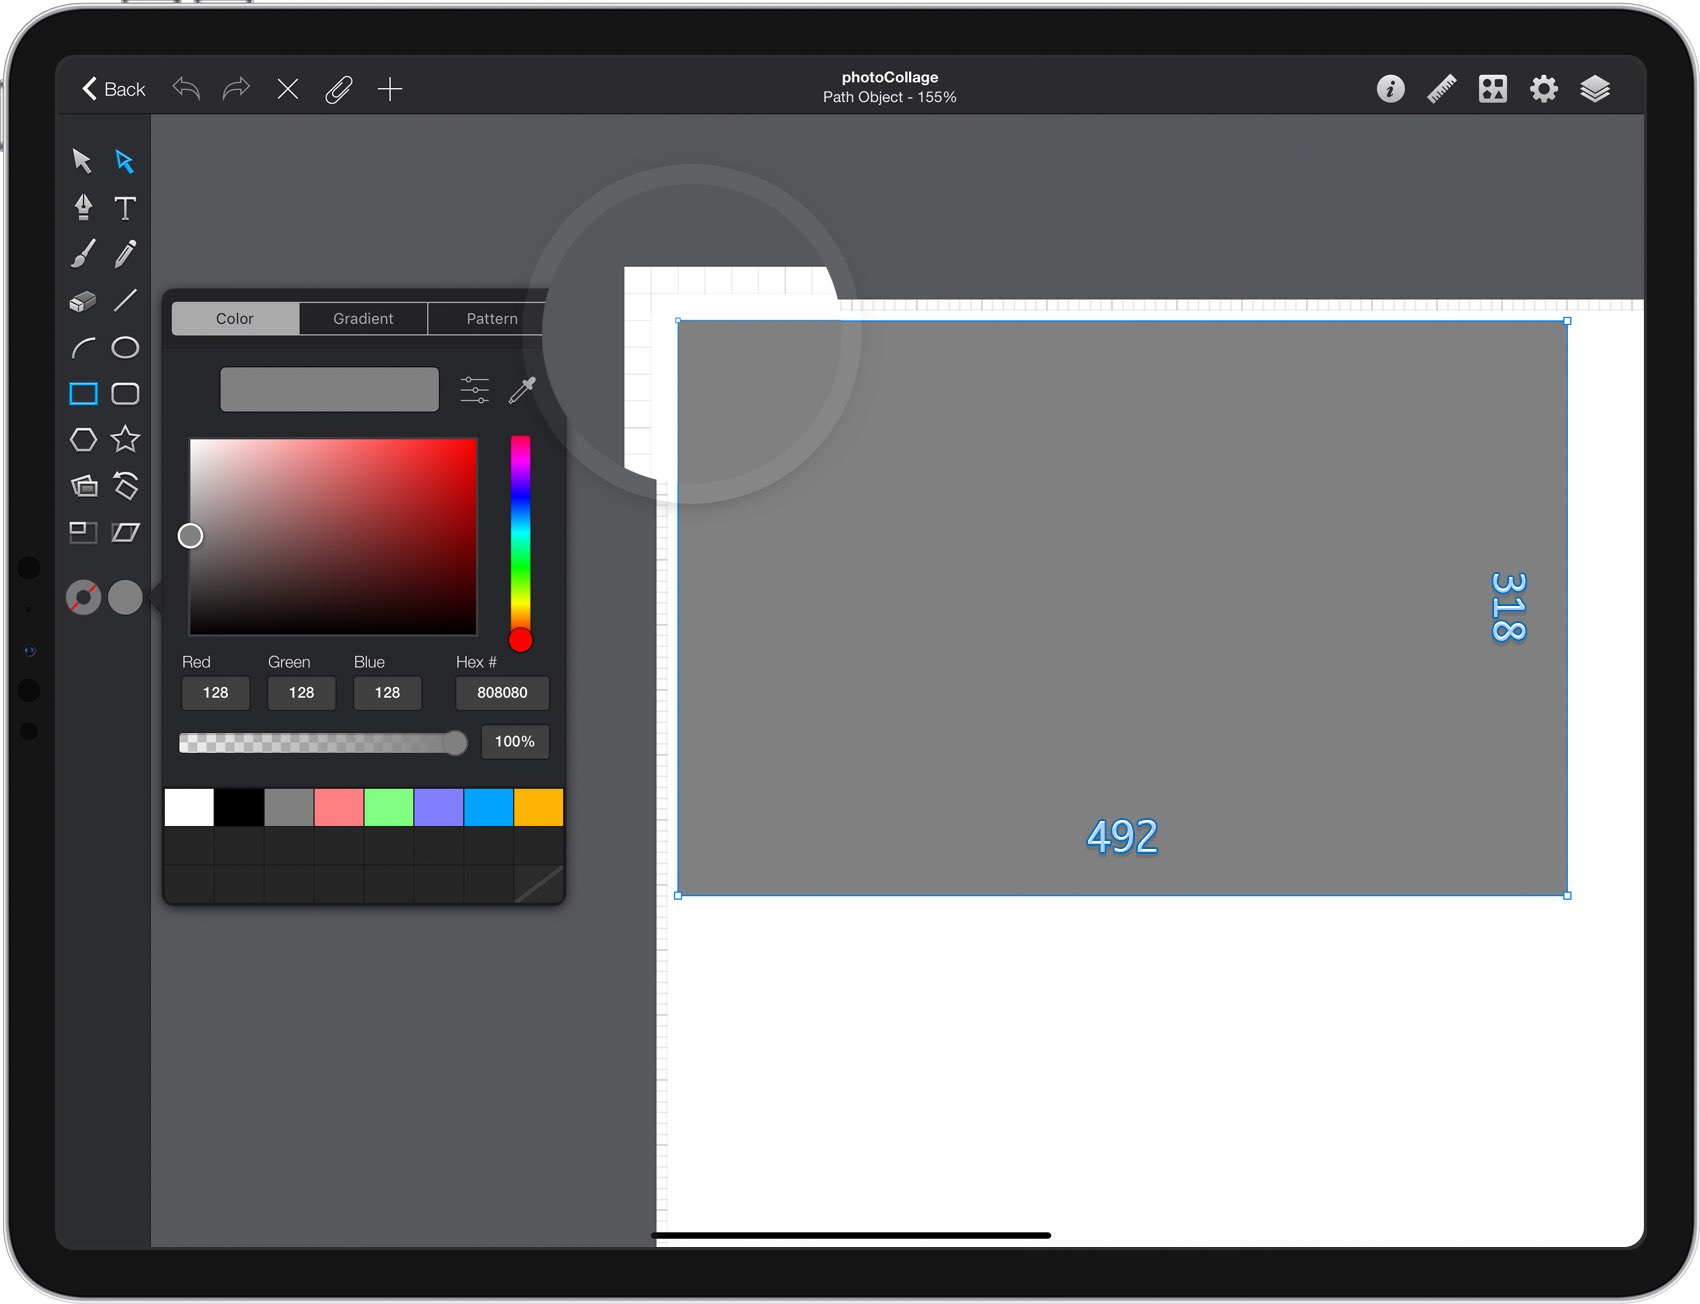
To design the layout of the collage, we'll create placeholder shapes where we want the final images to appear. Return to your Toolbar and replace the existing Fill color with R=128 G=128 B=128.
Select the Rectangle Tool from the Toobar and create a 492 x 218 px shape. Make sure that it stays selected, focus on the right side of your Titlebar and tap that ruler icon to open the Geometry pane. Set both Position attributes to 12 px.
This rectangle shape will designate the size and position of one of the images in our collage.
Step 5 - Create the Full Layout
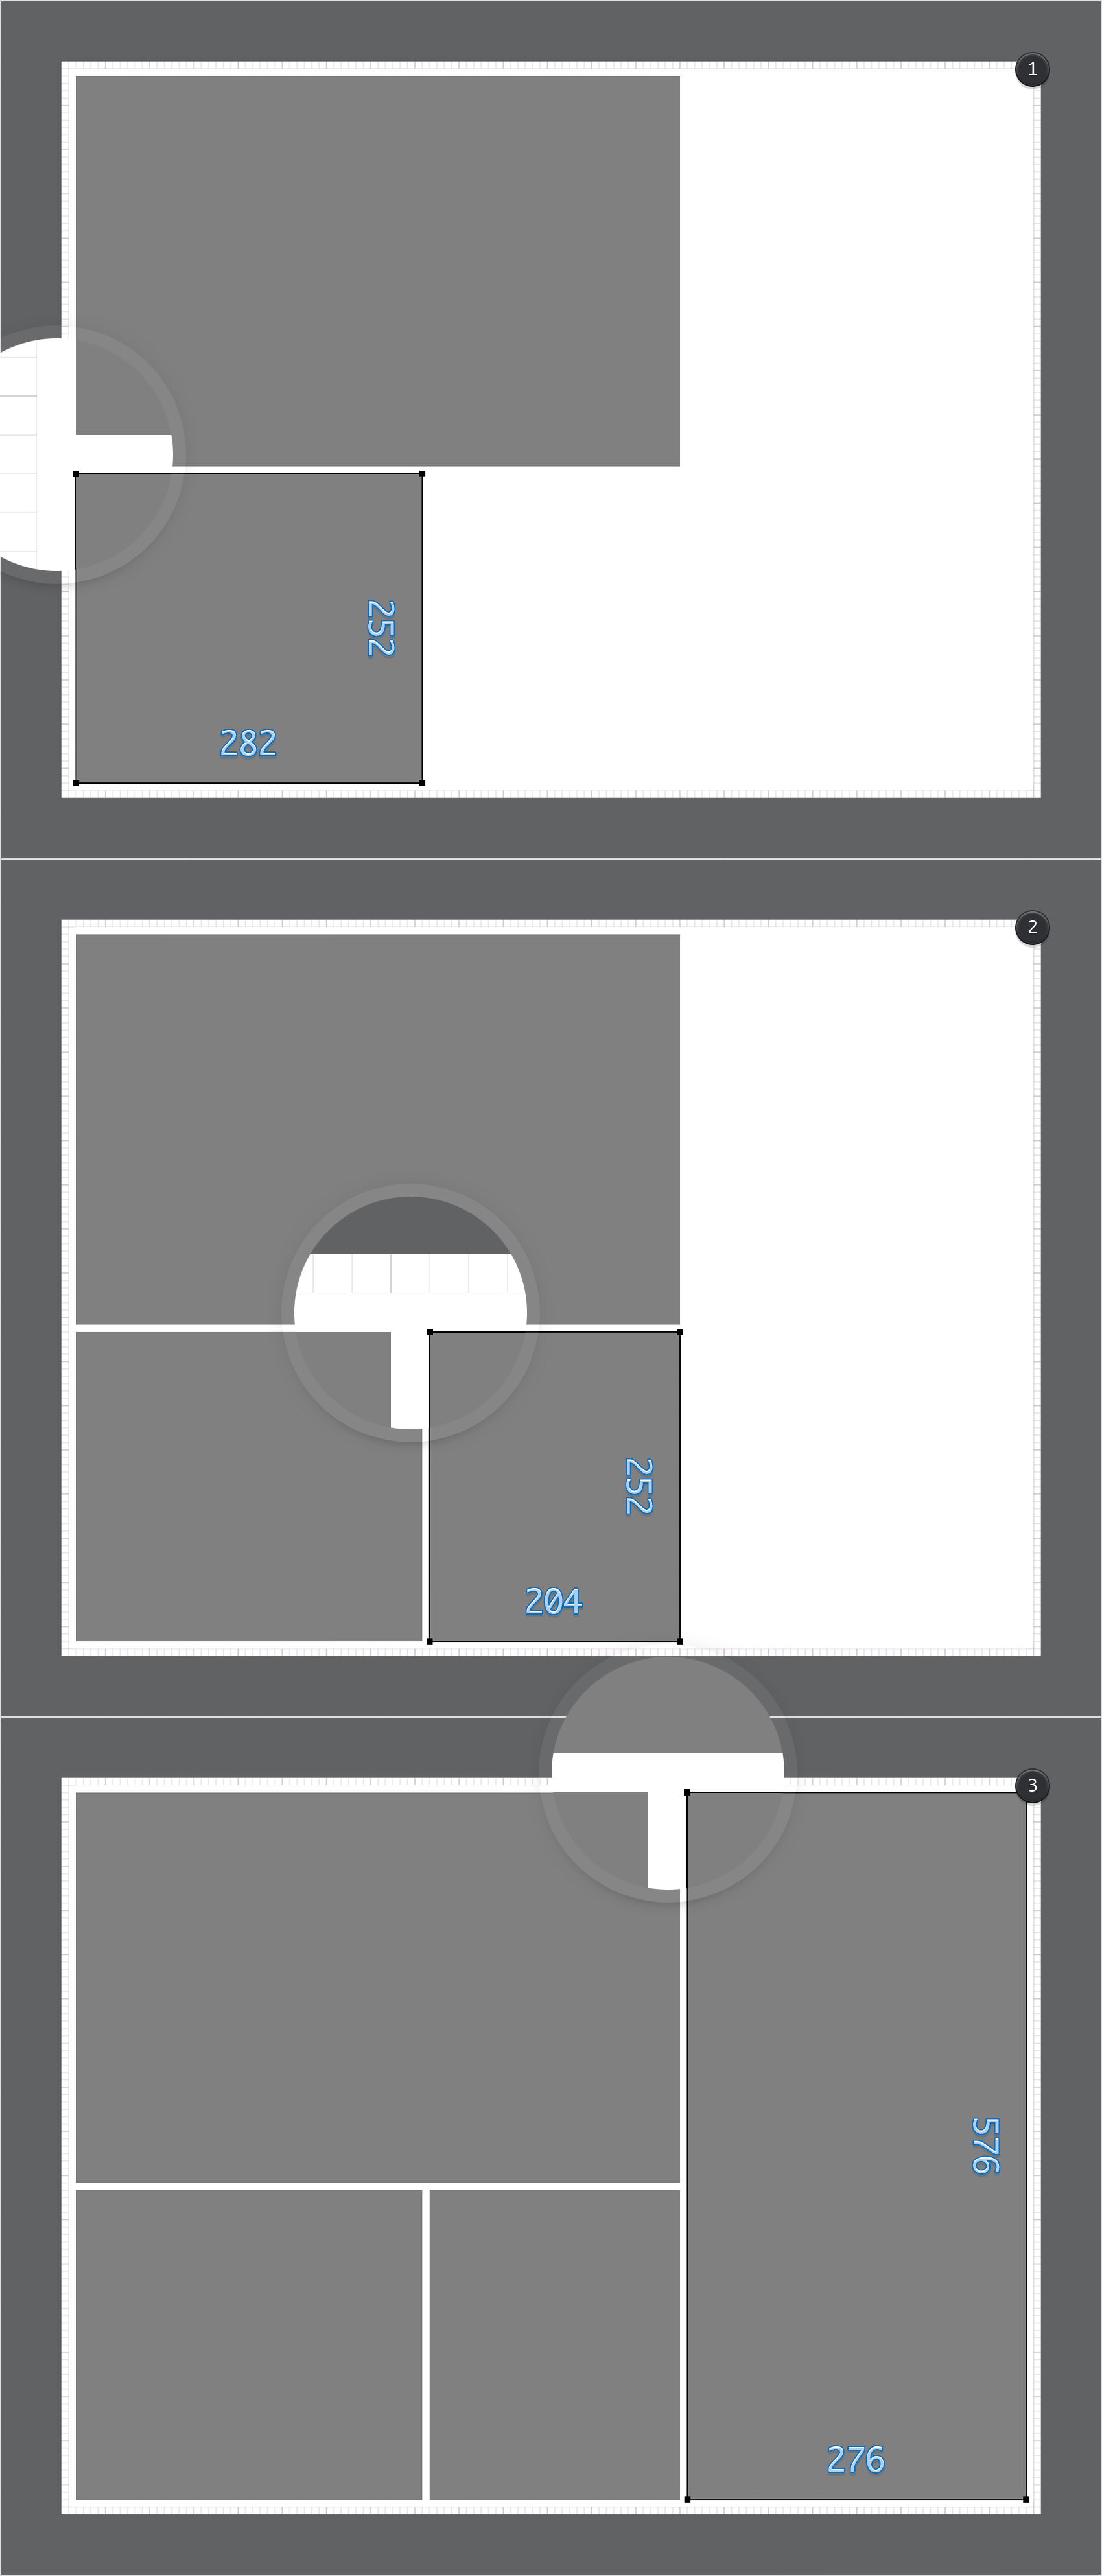
Next, we'll create the other rectangles needed to complete the layout. Using the Rectangle Tool create the next three rectangles:
• Position: X: 12 px, Y: 336 px, Size: 282 px width, 252 px height.
• Position: X: 300 px, Y: 336 px, Size: 204 px width, 252 px height.
• Position: X: 510 px, Y: 12 px, Size: 276 px width, 576 px height.
The layout should look like the screenshot below.
Step 6 - Set an Image Fill and Choose the Image
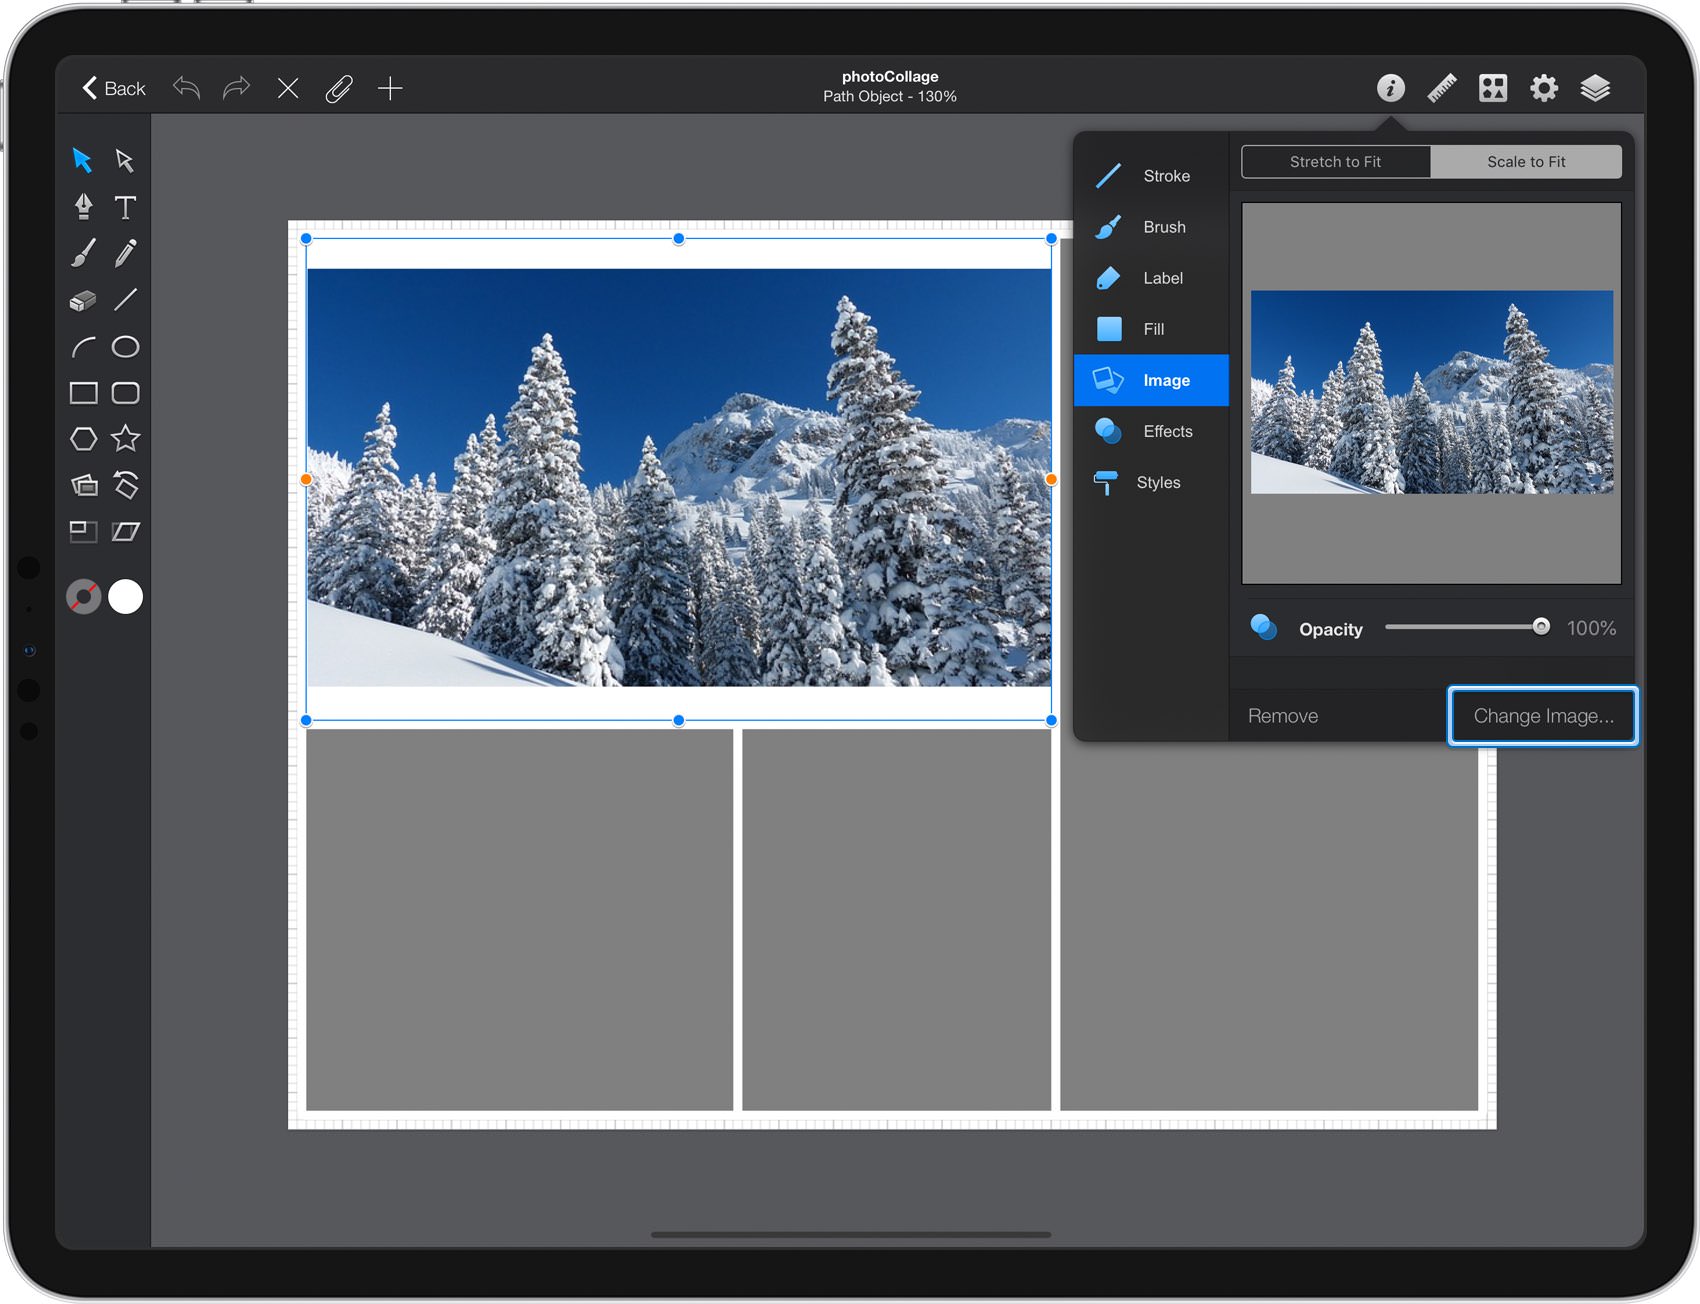
Switch to the Move Tool and select the top left placeholder shape. Focus on the right side of your Titlebar and tap the leftmost icon to open the Appearance panel. Tap the Image command and then tap the Change Image button. Select the image you'd like to use for this placeholder. By default, the image will be scaled to fit inside the rectangle shape.
Step 7 - Scale and Position the Image
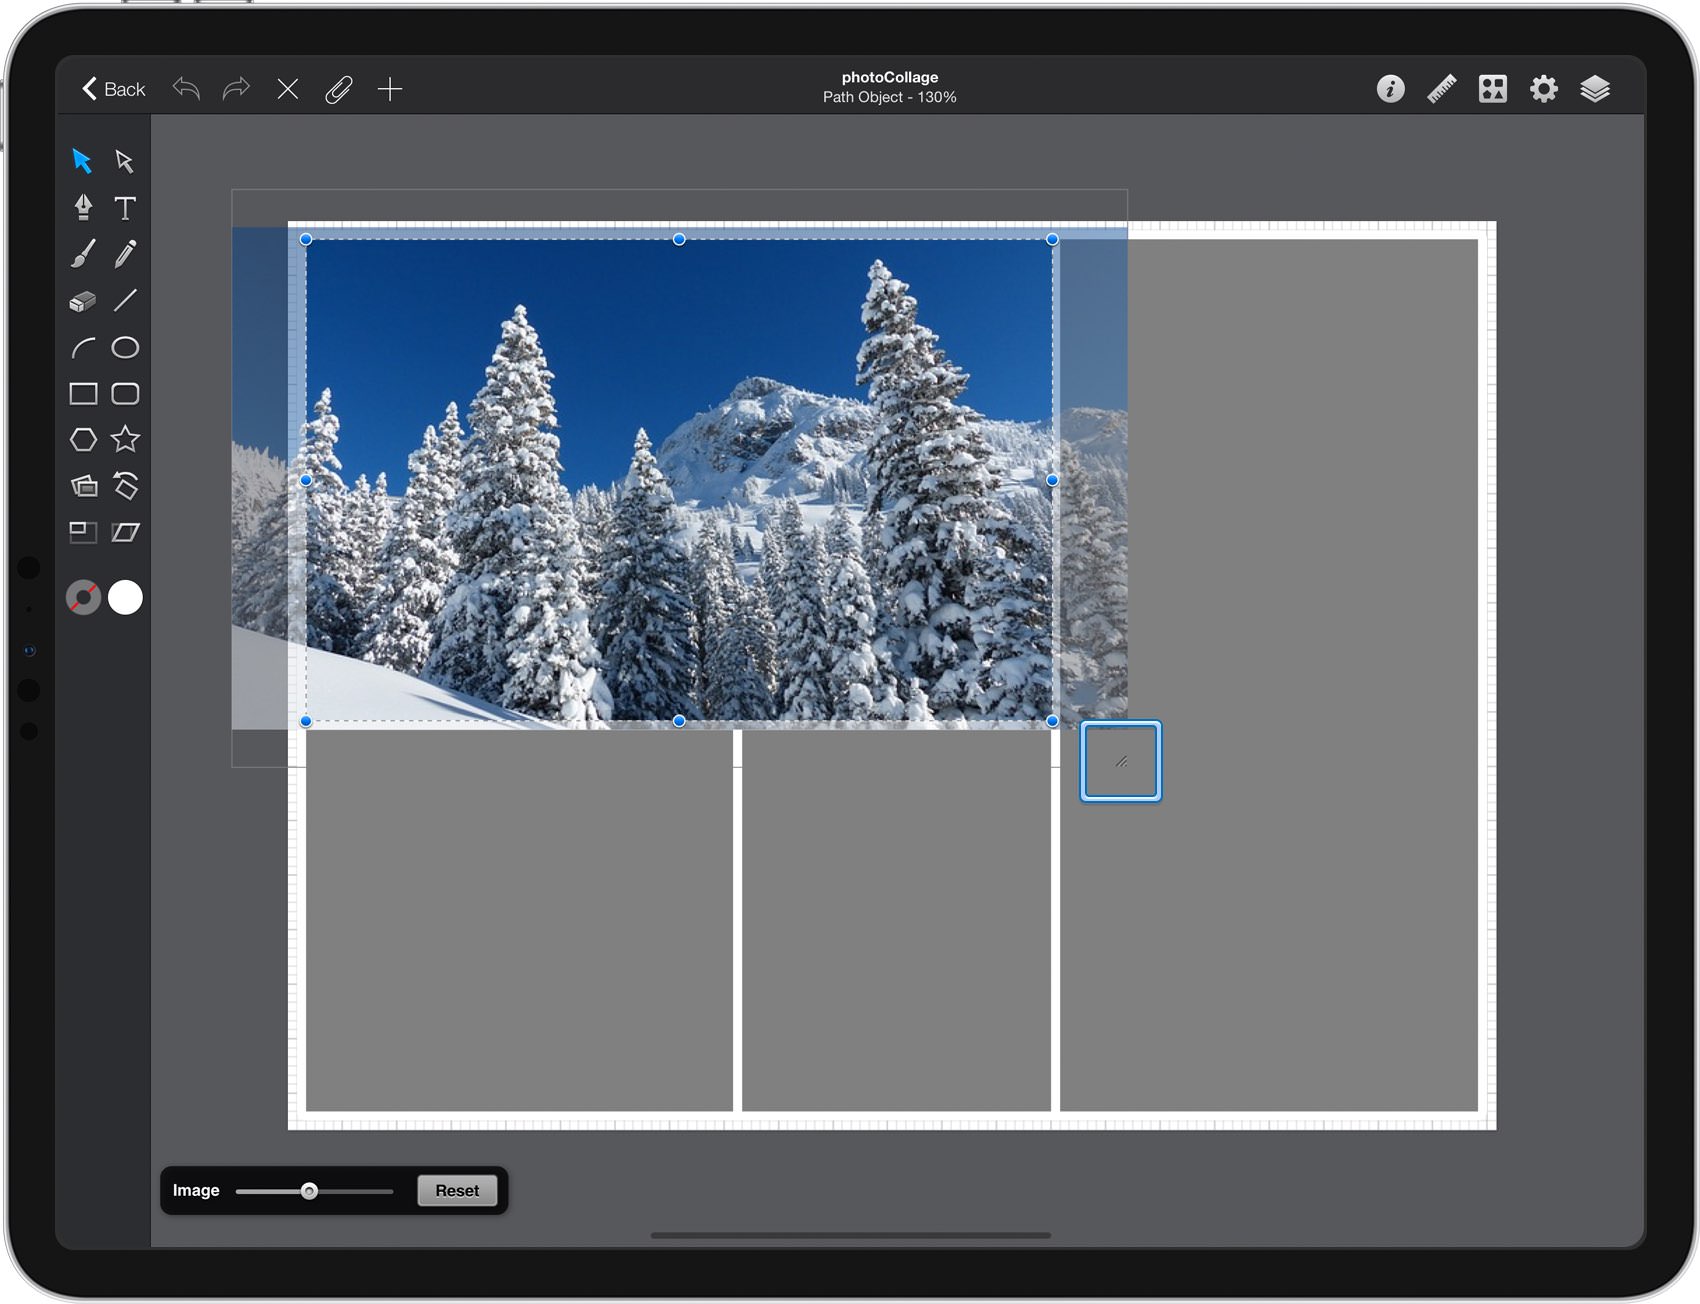
To scale and position an image within a selected shape you can double-tap on that shape using the Move Tool. This will activate the Image Tool.
With the Image Tool active, you can scale the image using the draggable resize handle (bottom right corner) or you can move the image within the shape to reposition it. You can also scale your image using that Image pane.
Scale and position the image to fit nicely within the shape and then tap outside your shape to deactivate the Image Tool.
Step 8 - Add the Other Images
Using the same steps as before, set different image fills for each of the other placeholder shapes. By scaling and positioning the images within the shapes you can create a photo collage similar to the one shown below.
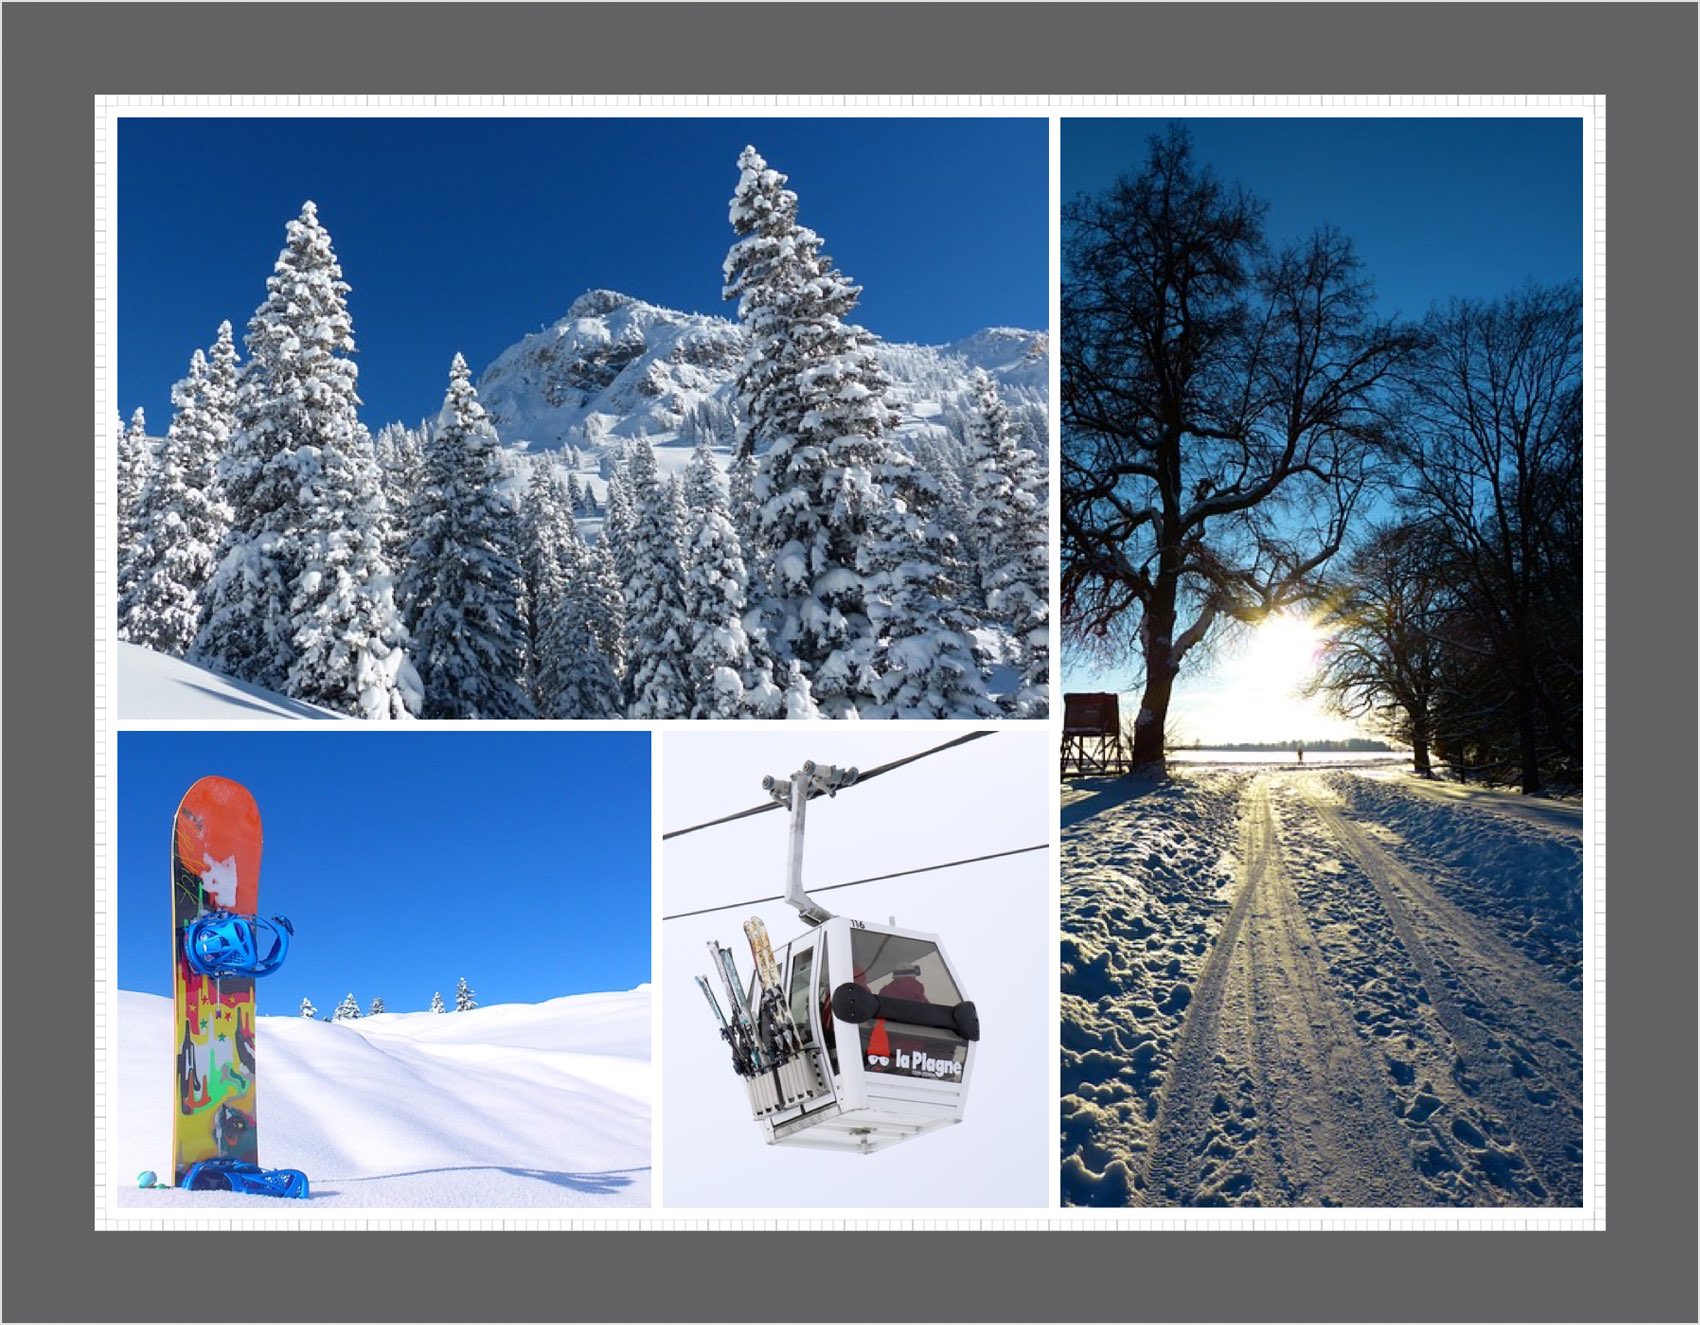
By using different shapes and sizes for the image placeholders you can create entirely different collage styles. For example, you can use rounded rectangles for the placeholders.
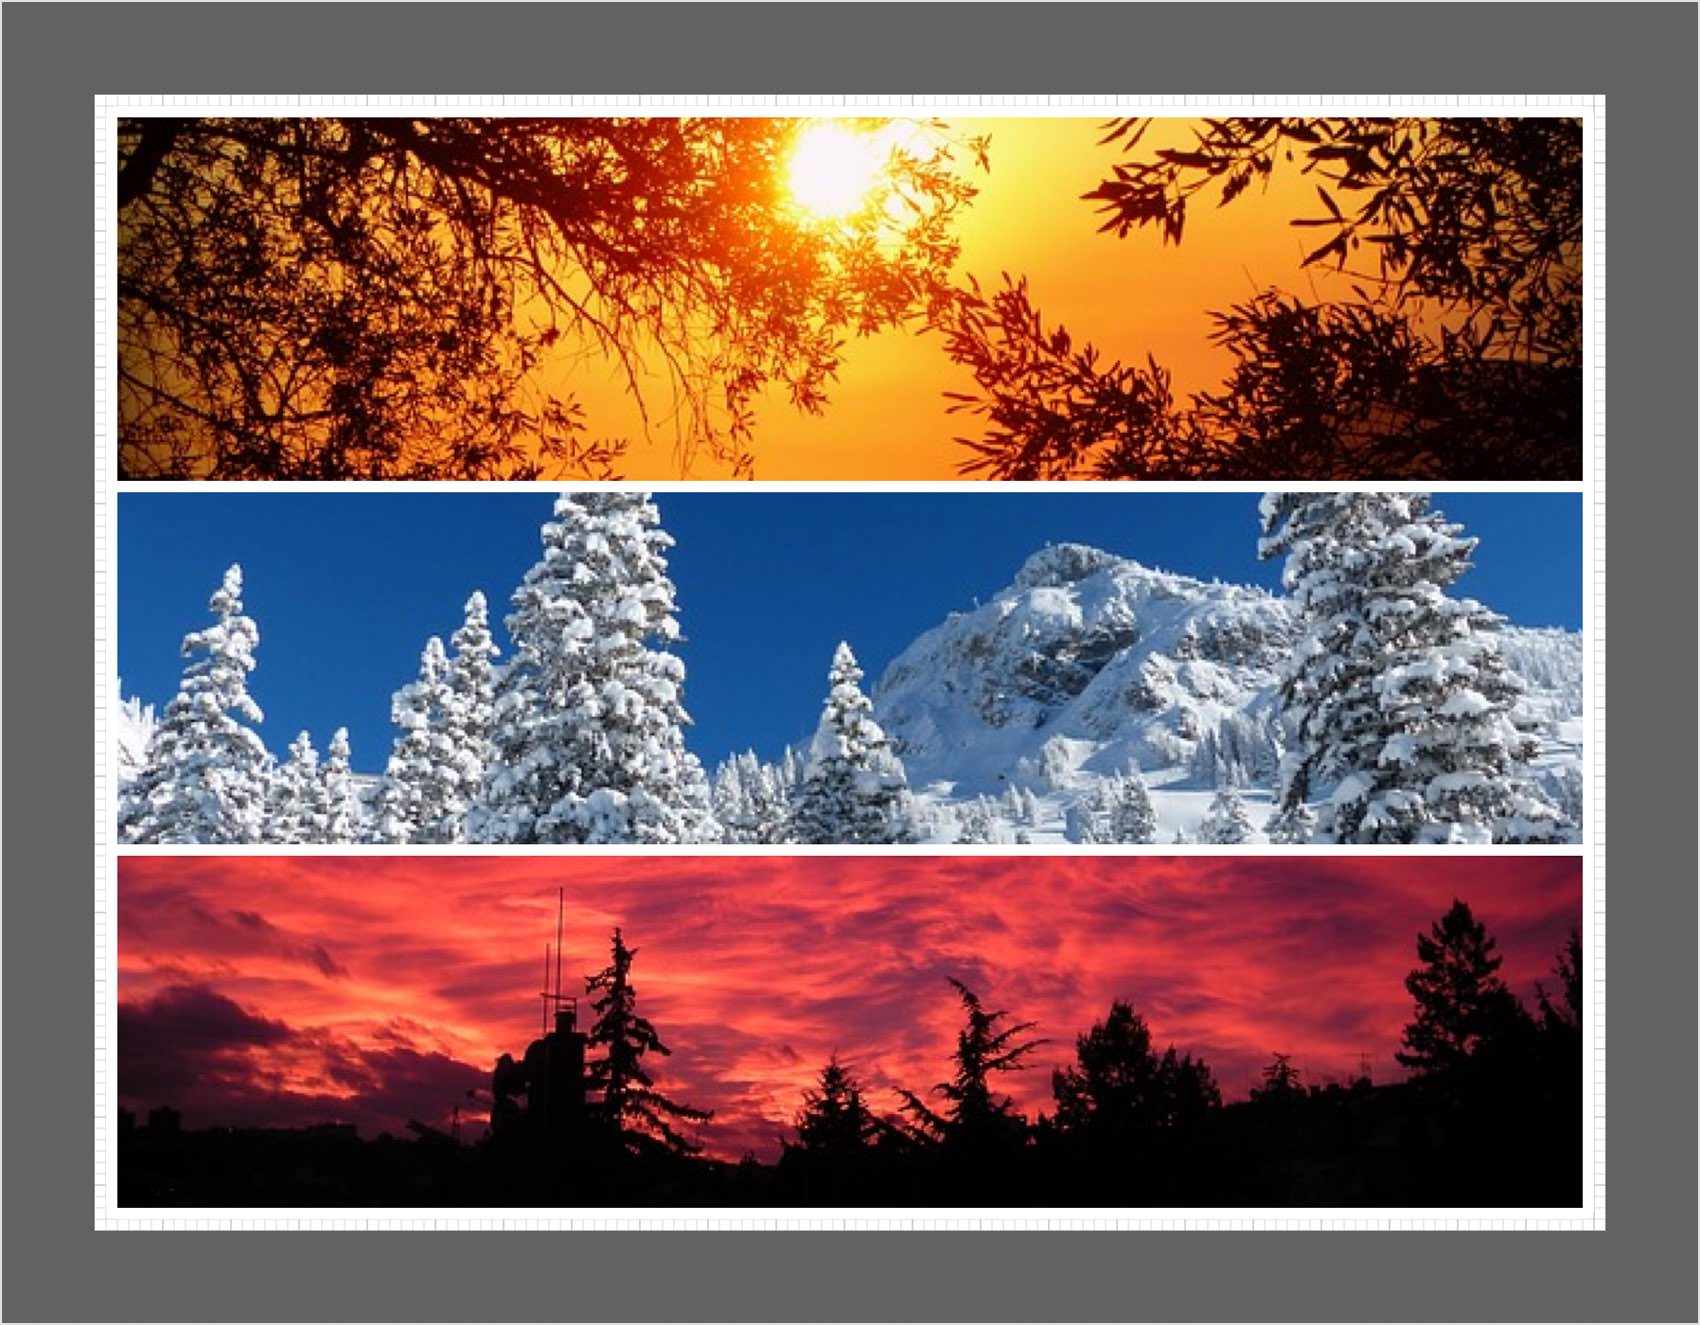
Other types of shapes can also be used to clip image fills to create dramatically different effects. Try different combinations to create unique artistic layouts.
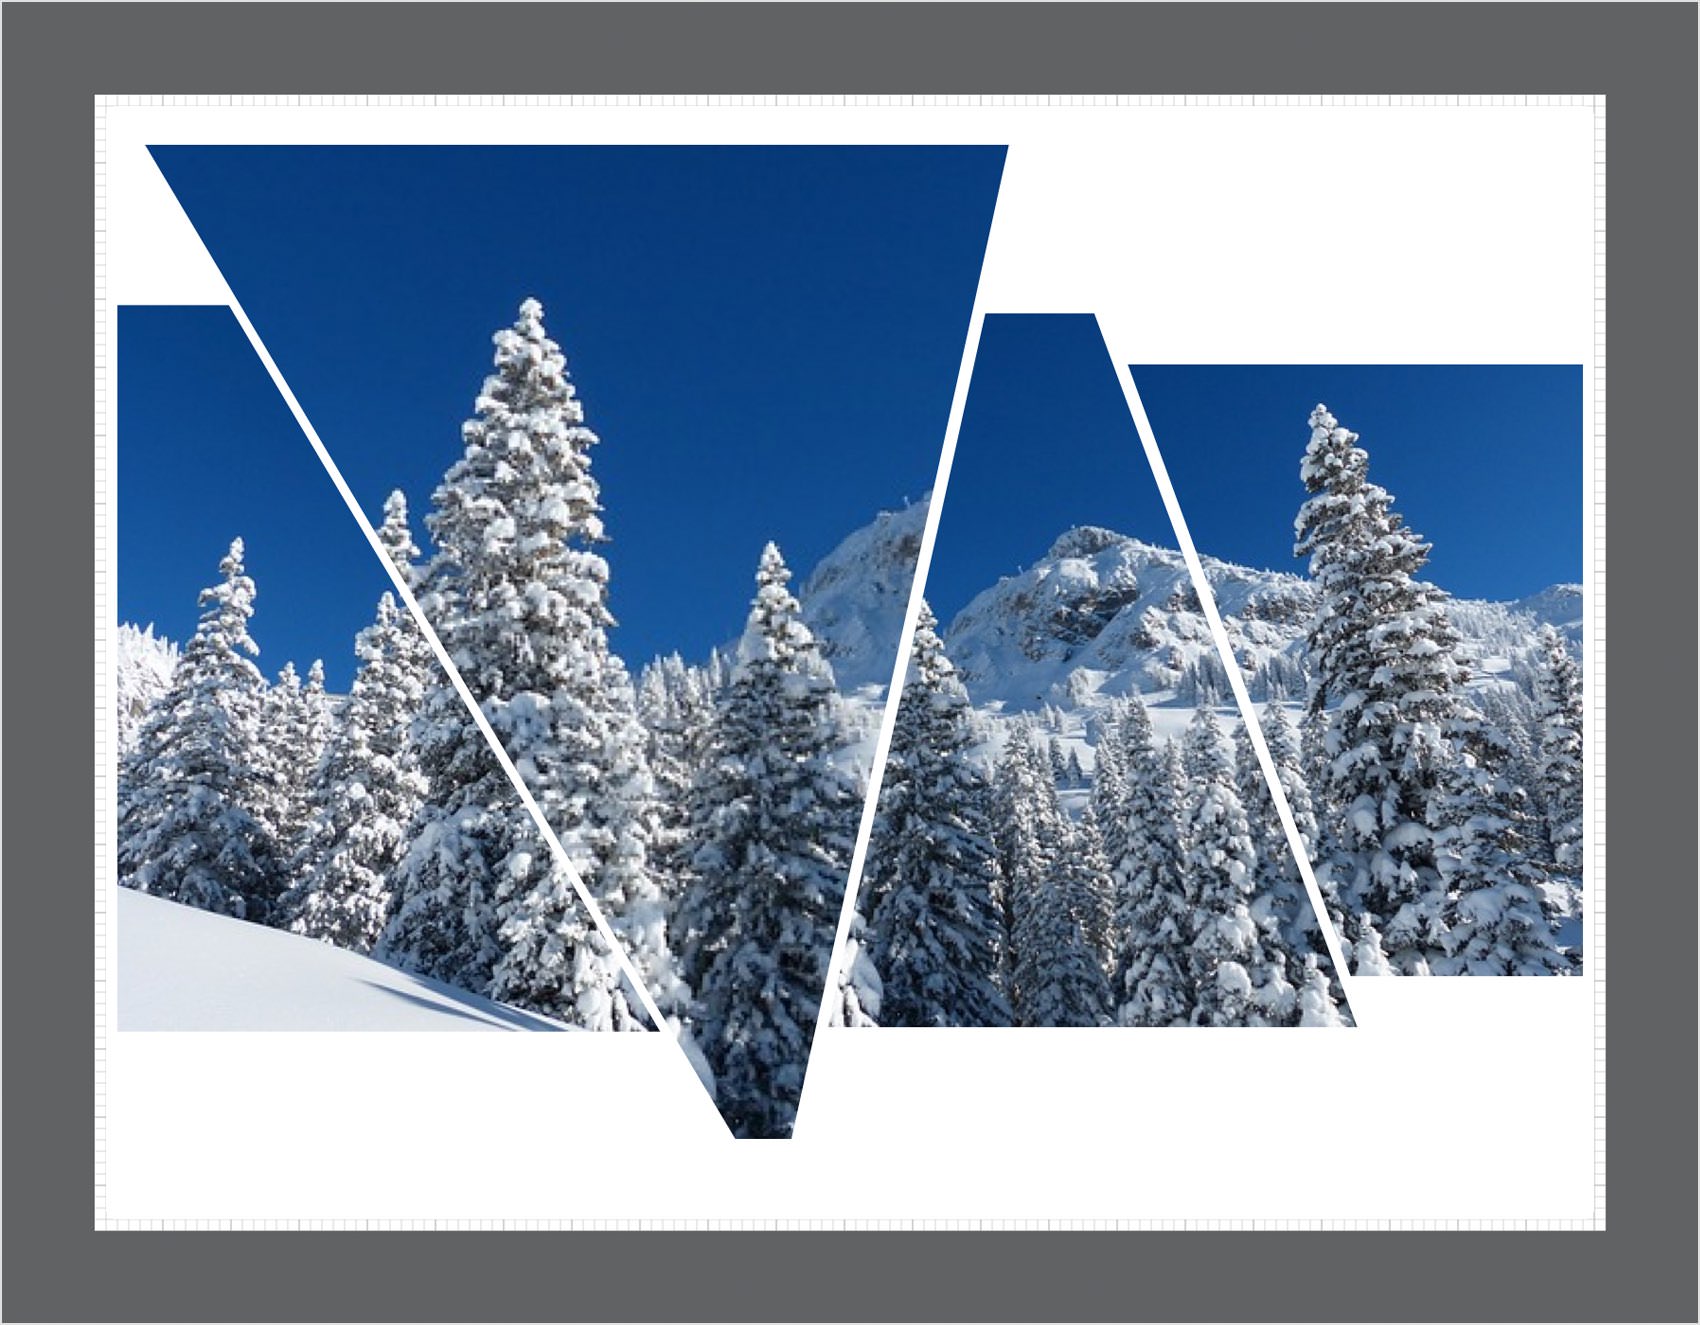
Finished Design
Congratulations, you've finished the tutorial!
Hope you've enjoyed learning some of the techniques and processes presented in these steps. As always, feel free to adjust the final design and make it your own.

Download Graphic File:
PhotoCollage.idraw